How to Measure a Roof for Shingles (Tools, Standards, & More)
June 10, 2024
Home improvement can be a fun challenge to take on as a homeowner. Developing DIY skills not only empowers you to handle various tasks around your home but also provides numerous benefits. Here are five benefits of learning DIY skills:
- Cost Savings: DIY projects can significantly reduce labor costs.
- Customization: Enjoy the freedom to customize your projects to suit your personal preferences.
- Skill Development: Learning and applying new skills can be highly rewarding.
- Personal Satisfaction: Completing a project yourself can be immensely satisfying.
- Increased Home Value: Quality improvements can increase the value of your home.
One of the more exciting DIY home improvement tasks is measuring your roof for shingles. While it may seem complex, measuring your roof for shingles is easily achievable by a homeowner if you follow the steps below.
Step 1: Gather the Necessary Tools
Before you start measuring your roof for shingles, you’ll need some essential tools. Each of these tools plays a critical role in ensuring accurate measurements.
Tools You’ll Need:
- Tape Measure: A flexible tape measure is essential for taking all the necessary dimensions.
- Ladder: Ensure you have a sturdy ladder to safely access your roof.
- Notepad and Pencil: For recording your measurements.
- Calculator: To help with conversions and calculations.
- Safety Gear: This includes gloves, non-slip shoes, and a safety harness.
- Roofing Square: A large ruler, typically 24 inches by 24 inches, used for measuring angles and lengths on roofs.
- Drone (Optional): For a safer means to gather aerial roof dimensions, particularly useful for large or steep roofs.
Step 2: Measure the Roof’s Width and Length
Start by measuring the length and width of each rectangular section of your roof. If your roof has multiple sections, you’ll need to measure each one individually.
- Set Up Your Ladder Safely: Ensure your ladder is on stable ground and firmly positioned.
- Measure Each Section: Begin at one end of the roof and measure the width from edge to edge, then measure the length from the eave to the ridge.
- Record Your Measurements: Write down the width and length for each section on your notepad.
Step 3: Calculate the Total Roof Area
Once you have all the measurements, you’ll need to calculate the total square footage of your roof.
- Multiply the Width by the Length: For each section, multiply the width by the length to get the area in square feet.
- Sum All Sections: Add up the areas of all the sections to get the total roof area.
For example, if you have three sections with areas of 800 sq. ft., 600 sq. ft., and 400 sq. ft., the total roof area is 1800 sq. ft.
Step 4: Account for Roof Pitch
Roof pitch refers to the steepness of your roof, which affects the overall roof area calculation. To get an accurate measurement, you need to account for the pitch.
- Determine the Roof Pitch: Measure the rise (vertical distance) over a 12-inch run (horizontal distance). Roof pitch is usually expressed as a ratio (e.g., 4:12).
- Use a Pitch Multiplier: Based on the pitch ratio, use a pitch multiplier to adjust your total roof area. Common multipliers are:
- 4:12 pitch = 1.054
- 6:12 pitch = 1.118
- 8:12 pitch = 1.202
For example, if your total roof area is 1800 sq. ft. and your pitch is 6:12, the adjusted area is 1800 x 1.118 = 2012.4 sq. ft.
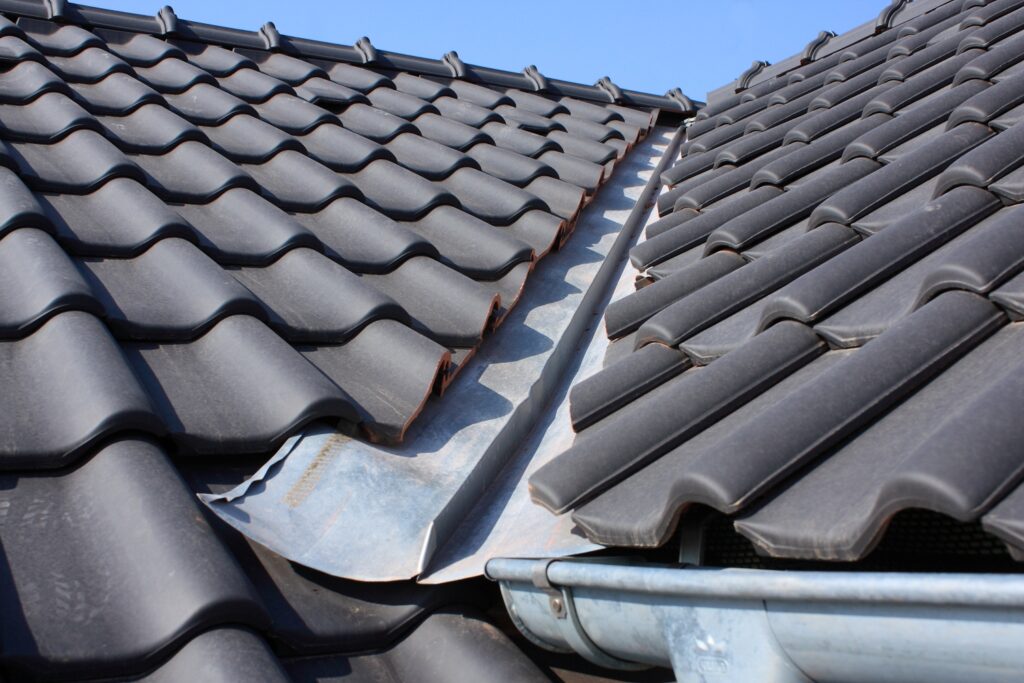
Step 5: Measure Ridge, Hip, and Valley Lengths
For more complex roofs with ridges, hips, and valleys, you’ll need to measure these lengths as well.
- Ridge: Measure the horizontal top edges where two roof planes meet.
- Hip: Measure the inclined edges where two roof planes intersect.
- Valley: Measure the internal angles where two roof planes intersect.
These measurements are essential to ensure you order enough shingles for these areas.
Step 6: Calculate Waste Factor
When installing shingles, accounting for waste due to cutting and fitting is crucial. Typically, a waste factor of 10% is added to the total area.
- Determine Waste Factor: Multiply your total roof area (including pitch adjustment) by 0.10.
- Add to Total Area: Add this waste factor to your adjusted total roof area.
For example, if your adjusted area is 2012.4 sq. ft., the waste factor is 2012.4 x 0.10 = 201.24 sq. ft. The final area is 2012.4 + 201.24 = 2213.64 sq. ft.
Step 7: Convert to Roofing Squares
Roofing materials are often sold by the “square,” which equals 100 square feet.
- Calculate Roofing Squares: Divide your final roof area by 100.
For example, 2213.64 sq. ft. ÷ 100 = 22.14 roofing squares.
Step 8: Order the Shingles
Based on your calculations, you can now determine the amount of shingles needed.
- Check Shingle Coverage: Verify how many square feet one bundle of shingles covers.
- Order Sufficient Shingles: Ensure you order enough bundles to cover your calculated roofing squares.
For example, if one bundle covers 33 sq. ft., you’ll need approximately 67 bundles (2213.64 sq. ft. ÷ 33 sq. ft.).
Step 9: Review Local Building Codes
Before starting your roofing project, it’s essential to review local building codes and regulations. These codes may have specific requirements for roofing materials, installation techniques, and safety practices.
- Contact Local Authorities: Reach out to your local building department to understand the codes that apply to your area.
- Ensure Compliance: Make sure your project complies with all relevant codes to avoid any legal issues.
Step 10: Safety First
Safety should always be a top priority when working on a roof.
- Wear Appropriate Safety Gear: Use non-slip shoes, gloves, and a safety harness.
- Work with a Partner: Having someone assist you can enhance safety.
- Avoid Wet or Windy Conditions: Only work on your roof under safe weather conditions.
Measure Your Roof Today
Measuring your roof for shingles may seem daunting at first, but with the right tools and detailed steps, it’s a task that any homeowner or DIY enthusiast can confidently tackle. By following the procedures outlined above, you can accurately measure your roof and ensure you have the right amount of materials for your roofing project.
However, if you prefer to leave the task to the professionals, consider working with RoofX. Our experienced team is ready to ensure your roofing project is handled with precision and care. Contact us today for a consultation.