How to Tarp a Roof (& What to Do Next)
May 13, 2024
How to Tarp a Roof (& What to Do Next)
When disaster strikes and your roof is compromised, knowing how to tarp a roof quickly becomes critical to protect your home from further damage. In this guide, we’ll provide you with step-by-step instructions on securing a tarp on your damaged roof effectively—ensuring you’re equipped to prevent further harm until a permanent fix is in place. Let’s help you shield your home against the elements with top-tier roofing services.
Inside this blog:
- The Role of Tarps in Emergency Repairs
- Preparing for Roof Tarping: Safety First
- Maintaining Your Roof-Tarp: Inspection and Monitoring
The Role of Tarps in Emergency Repairs
After severe weather events, tarps offer an invaluable temporary solution to protect a damaged roof until permanent repairs can be made. The role of a roof tarp extends beyond mere coverage. It prevents further property damage, allowing residents to continue living in their homes, ultimately mitigating repair costs.
Even though you might be eager to fix that leaky roof, remember that a tarp isn’t just a quick fix – it’s a critical step in the recovery process.
Types of Roof Tarps
It’s worth noting that not all tarps are the same. Some provide better protection against harsh weather elements. Heavy-duty and UV-resistant tarps are recommended for roofing as they provide robust protection against weather elements. UV-inhibitor tarps, in particular, offer extended protection until repairs can be performed.
Alternatively, standard blue tarps, though a common temporary solution for roof coverage, may lead to further issues due to their lack of waterproofing and potential to tear. So, choose wisely.

Preparing for Roof Tarping: Safety First
While tarping a roof might appear to be a straightforward task, it involves inherent dangers, including the risk of falls or electrocutions, particularly if the roof is damaged. These risks are heightened if you lack the necessary safety equipment and training. This is why professional assistance is strongly recommended for proper and secure tarp installation.
Identifying Hazards
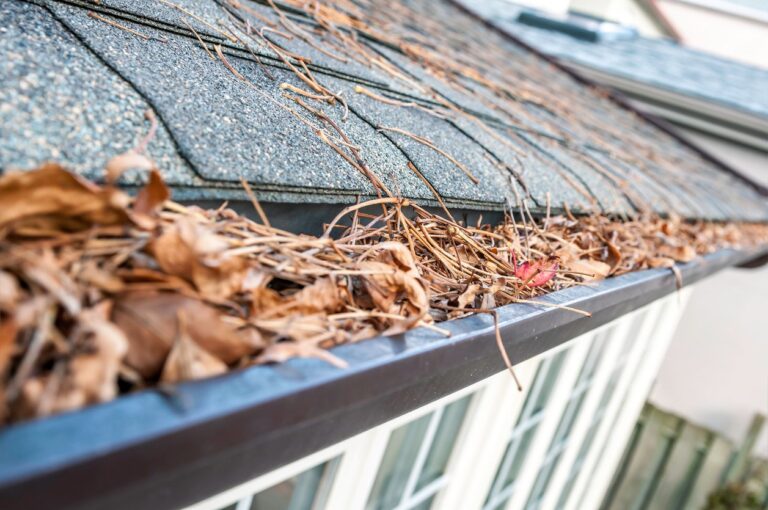
Before starting the tarping process, it’s important to identify and mitigate any potential hazards. Clearing debris from the roof area after severe weather is essential to create a clean and safe workspace, minimizing tripping hazards during tarping.
Tarps themselves can pose a danger as they become incredibly slippery, especially when wet, and should be avoided as a walking surface to prevent falls.
Safety Equipment Essentials
Without a doubt, safety should be your top priority when tarping a roof. Using appropriate safety equipment is crucial, and the essential items include:
- Non-metal ladders
- Work boots
- Long pants
- A long-sleeve shirt
- Gloves
- Safety glasses
It’s also vital to ensure the ladder and safety equipment used are positioned at the correct angle for stability and extend at least three feet above the roof edge for safe entry and exit.
When working near energized electrical equipment or overhead power lines, using a non-metal ladder can prevent electrocution.
Step-by-Step Guide to Tarping a Roof
A systematic approach is required when tarping a roof. Before laying a tarp, ensure the roof is easily accessible, free of structural damage, and clear of debris to prevent the tarp from getting damaged. Avoiding tripping hazards on the roof is vital to preventing falls during the tarping process.
You will need certain materials and equipment for tarping a roof. These include:
- Thin wooden boards
- Nails
- Screws
- Sandbags
Wooden boards can serve as a temporary fix to hold the tarp down securely on the roof. The tarp should be fastened over the eaves to ensure a tight fit, which helps prevent water from getting under the tarp and causing serious damage.
Assessing Roof Damage
The initial step in managing a roofing emergency involves thoroughly assessing the damage to confirm it’s safe to commence with tarping. During this assessment, check for gaps, curling, or broken materials that could allow water or air to penetrate, while evaluating the roof’s stability and structural integrity. If the roof has severe damage, it’s best to call a professional roofer.
Proper damage assessment is key to ensuring the effectiveness and safety of tarping.
Measuring and Choosing the Right Tarp
It’s important to select the right tarp to adequately cover the damaged area. To determine the tarp size needed, use a tape measure to find the length and width of the roof’s damaged area. The chosen tarp should not only cover the entire damaged space but also extend beyond it on all sides to ensure complete protection.
If the area of damage is too extensive for a single tarp, overlapping multiple tarps is a viable solution to provide adequate coverage.
Installing the Tarp
The tarp installation process requires precision and careful attention to detail. To initially secure the tarp, attach a 2×4 board to each edge, wrap it around 2×4 boards for the sections under the eaves, and nail the tarp to these boards, making sure it’s stretched tightly across the area. For enhancing the hold, lay a 2×4 on the peak edge of the tarp, extend it about 2 feet beyond each side, nail it down, roll the 2×4 within the tarp, and secure with screws, repeating the process for the other side to firmly anchor the tarp.
Maintaining Your Roof Tarp: Inspection and Monitoring
Even after the tarp is securely installed, the work isn’t done. Regular inspections of the roof tarp are needed to verify it continues to effectively protect the roof. During these inspections, check that the tarp remains flat and tight against the roof surface, as slack or wrinkles can lead to damage under adverse weather conditions.
Monitoring the tarp includes:
- Looking for tears or areas where the tarp may have come loose, particularly after wind or rain, to prevent subsequent damage to the roof
- Regular inspection and monitoring to ensure the tarp’s effectiveness
- Providing peace of mind knowing your home is safeguarded against further damage.
Assessing the Need for a Professional
It’s important to know when to call in a professional roofer. If you cannot safely or accurately assess the roof damage, it’s best to call a professional to conduct a thorough inspection. Besides, climbing onto a damaged roof carries potential hazards that can be mitigated by hiring a professional roofing contractor.
Reach out to Us for Roofing Services
Tarping a roof is an essential step in protecting your home from further damage following a storm or other damaging events. It’s a process that requires careful planning, precise execution, and continuous monitoring. While the task might seem challenging, with the right resources, it can be accomplished effectively.
Remember, safety comes first, and when in doubt, it’s always best to call in the professionals. At Roof X, our team of contractors can provide roofing services whenever you need them. Reach out to us today for a quote.