7 Step Fascia Board Replacement
March 8, 2024
Are you noticing some wear and tear on your fascia boards and thinking it’s time for a replacement? You’re in the right place! The fascia board plays a crucial role in protecting your home’s roof and siding from water damage, so keeping it in good condition is essential.
In this guide, we’ll walk you through the seven steps to replace your fascia board like a pro. Let’s get started on giving your home’s exterior a fresh new look!
Need quality roofing solutions?
But not sure where to start?
Inside this blog:
- 7 easy-to-follow steps for fascia board replacement
- Tips under each of the 7 steps to ensure a successful replacement
Keep reading to learn how you can replace your fascia boards like a real pro!
🔍 Step 1: Assess the Damage
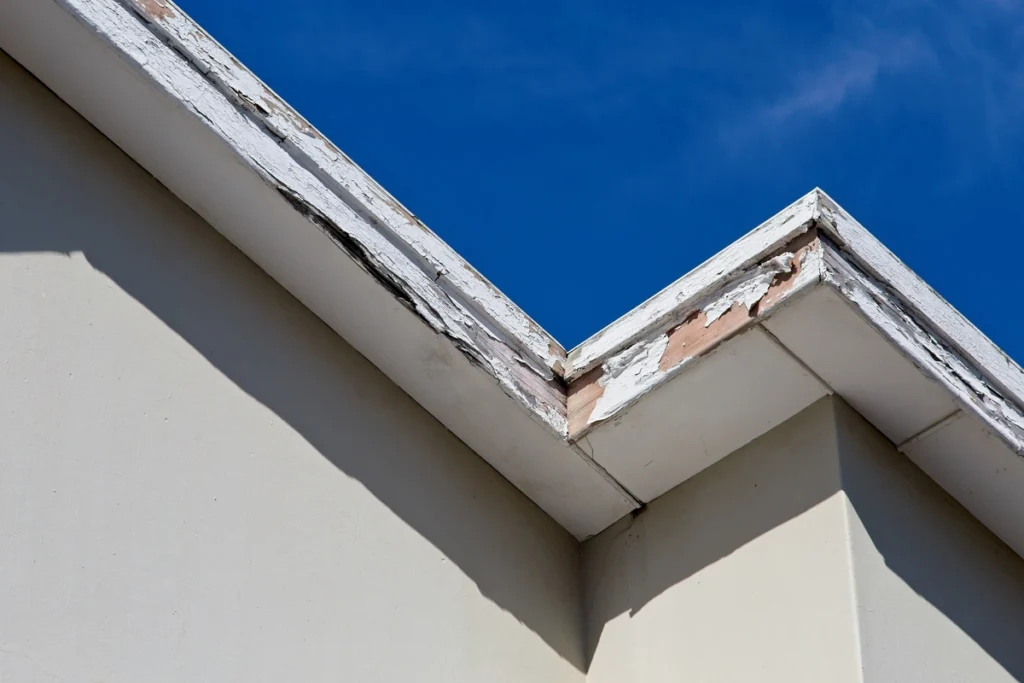
The first step in any home improvement project is to assess the extent of the damage. Take a close look at your fascia boards to identify any signs of rot, decay, or damage. Pay particular attention to areas near the corners of your home or where the gutters are attached, as these areas are more prone to water damage. Once you’ve identified the problem areas, you can determine if a repair or full replacement is necessary.
🧰 Step 2: Gather Your Materials and Tools
Before diving into the replacement process, make sure you have all the necessary materials and tools on hand. Here’s what you’ll need:
New Fascia Boards
Measure the length of your existing fascia board to determine how much replacement material you’ll need. It’s always a good idea to purchase slightly more material than you think you’ll need to account for any mistakes or unexpected challenges during the installation process.
Nails or Screws
Choose corrosion-resistant fasteners to ensure long-lasting durability. Stainless steel or galvanized nails/screws are ideal for outdoor applications and will help prevent rust and deterioration over time.
Pry Bar or Hammer
You’ll need these tools to remove the old fascia boards. Be gentle when using the pry bar to avoid damaging the surrounding structure, and consider using a rubber mallet with the pry bar to help loosen stubborn boards without causing excessive force.
Saw
A circular saw or handsaw will come in handy for cutting the new fascia boards to size. Take your time and use steady, controlled movements when cutting to ensure clean and precise cuts.
Safety Gear
Don’t forget your gloves, goggles, and a sturdy ladder for safety. Additionally, consider wearing sturdy shoes with good traction to prevent slips and falls while working at heights. Your safety should always be the top priority during any home improvement project.
🏚️ Step 3: Remove the Old Fascia Boards
Once you’ve gathered your materials and tools, it’s time to remove the old fascia boards. Use a pry bar or hammer to carefully detach the old boards from the rafters or roofline. Be sure to work slowly and methodically to avoid causing any additional damage to the surrounding areas. Once the old boards are removed, take the opportunity to inspect the underlying structure for any signs of damage or rot that may need to be addressed before replacing fascia boards.
🪚 Step 4: Cut and Install the New Fascia Boards
With the old fascia boards out of the way, it’s time to replace fascia boards by cutting and installing the new ones. Measure the length of the replacement boards and use a saw to cut them to size. Be sure to make precise cuts to ensure a snug fit against the roofline. Once the new boards are cut, use nails or screws to secure them in place, making sure to leave a small gap between each board for expansion and contraction. Take your time with the installation to ensure a professional-looking finish that will stand the test of time.
🔒 Step 5: Seal the Joints and Edges
To prevent water infiltration and ensure a watertight seal, it’s essential to seal the joints and edges of the new fascia boards. Use a high-quality exterior caulk to fill any gaps or cracks between the boards and the surrounding structure. Pay special attention to areas where the fascia boards meet the roofline or siding, as these are common entry points for water. Be thorough in your caulking application, ensuring complete coverage to prevent any potential leaks or water damage.
🎨 Step 6: Paint or Finish the Fascia Boards
Once the caulk has dried, you can paint or finish the new fascia boards to match the rest of your home’s exterior. Choose a high-quality exterior paint or stain that is designed to withstand the elements and apply it evenly to the boards using a brush or roller. Allow the paint or stain to dry completely before moving on to the final step. Remember to follow manufacturer’s instructions for optimal results and durability.
🧹 Step 7: Clean Up and Inspect Your Work
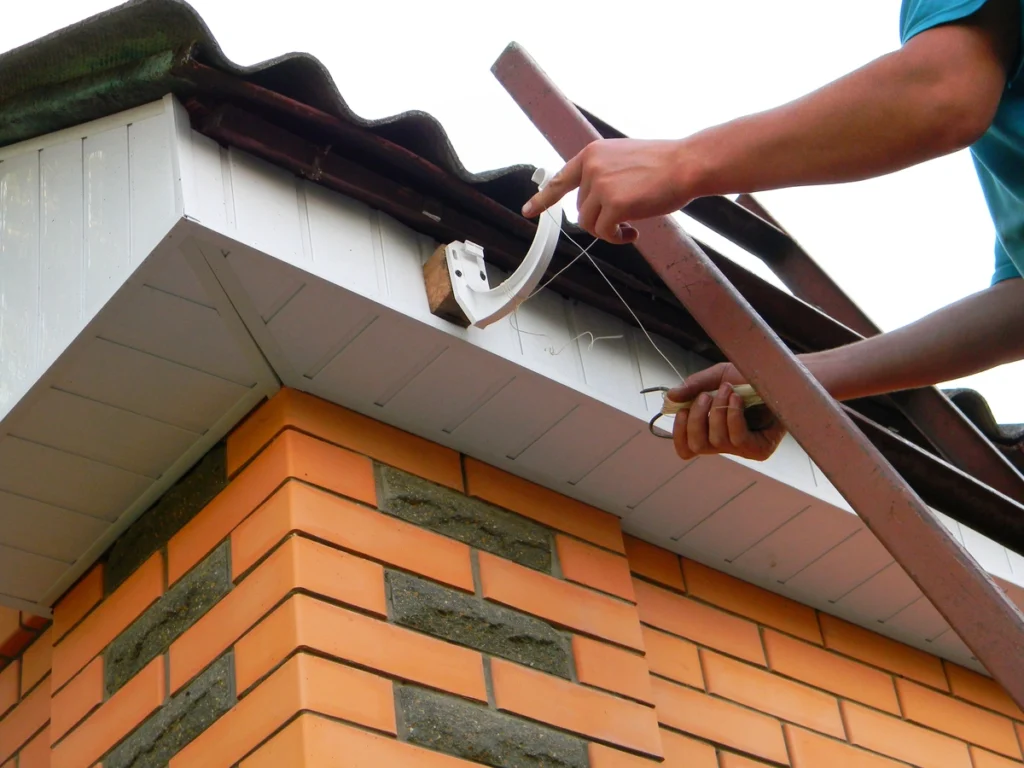
Finally, it’s time to clean up the work area and inspect your handiwork. Dispose of any leftover materials and debris responsibly, and give the newly replaced fascia boards a thorough inspection to ensure they are properly installed and sealed. Take a step back and admire your work – you’ve successfully replaced your fascia boards and given your home’s exterior a fresh new look! Don’t forget to check for any missed spots or areas that may need touch-ups before considering the project complete.
Protect Your Home With a Fascia Board Replacement
Replacing your fascia boards may seem like a daunting task, but with the right materials, tools, and know-how, it’s a project that any homeowner can tackle. By following these seven simple steps, you can ensure that your home’s exterior remains protected and looking its best for years to come. So, roll up your sleeves and get ready to give your home a facelift – you’ve got this!
Contact our X’pert team of roofers at RoofX today for top tier craftsmanship and dedicated customer service. We’ll make sure your home stays standing strom with a solid roof over its head for years to come.

