How to Cut Shingles like a Pro (DIY Roofing Guide)
March 2, 2023
Do you want to cut shingles like a professional and save money on your next roofing project? You don’t have to be a construction expert or an experienced roofer to do this yourself. You can quickly complete your roof repair job with the right tools, materials, and instructions.
Not cut out for DIY? Reach out to a local roofer you can trust.
But for now, let’s go over the ins and outs of cutting shingles so that even if you end up getting a professional to help you, you’ll be all the more prepared.
With this step-by-step guide, even a beginner can learn how to cut shingles with precision and accuracy in no time. So if you’re up for the challenge of precisely re-roofing your house yourself or just figuring out what it takes to do so successfully – keep reading!
Understanding the Basics of Shingle Cutting

The term ‘shingle cutting’ may sound daunting, but it’s simple. Roof shingles are cut like other materials using a hand or an electric circular saw. Careful consideration is essential when cutting shingles to ensure a successful and efficient outcome.
These factors include:
The Type of Shingle Being Cut
Different types of shingles require other saw blades. For instance, asphalt shingles are best cut with a standard knife, while cedar shake shingles require a carbide-tipped saw blade. Selecting the correct saw blade for the type of shingle cut is essential to ensure a smooth and clean cut.
The Direction of the Cut
When cutting shingles, the direction is essential to pay attention to. For example, when you want to cut asphalt shingles/architectural shingles, it should be done along the material’s grain, while cedar shake shingles are best cut against it.
Cutting the shingle in the wrong direction can weaken it, leaving it more susceptible to breakage and tearing. Straight lines or a straight edge will help provide a clean cut and prevent any unevenness in the shingle.
Safety Precautions
Safety should always be taken into account when cutting shingles. It’s essential to wear safety glasses, a dust mask, and work gloves when cutting shingles. Doing so will help protect your eyes, lungs, and hands from any debris that may be produced during the process.
Step-by-Step Guide to Cutting Shingles
To cut shingles like a pro, it’s important to follow steps to ensure a precise outcome.
Step 1. Gather the Necessary Tools
Do you know the old saying, ‘the right tool for the job’? Well, it applies here. There are several tools you’ll need to get the job done. They include:
- A hand saw or an electric circular saw
- Utility knife
- A measuring tape
- Pencil and paper
- Safety glasses, gloves, and a dust mask.
Step 2. Measure and Mark the Shingles
Using a measuring tape, measure the length of shingles needed. You can then mark them on the back side with a pencil. This will help you align the saw and ensure your cuts are precise.
Step 3. Align and Cut the Shingles
Once you’ve marked the shingles, align them with a hand or electric circular saw. Keep your fingers away from the saw blade and only cut in a single direction. Make sure to follow the lines you’ve marked and take your time.
Steps for Cutting Curved Shingles

Curved shingles can be more challenging to cut than straight shingles. However, if you follow these steps, it will be a smooth process.
Steps include:
- Mark the curved line on the shingle with a pencil or chalk.
- Next, slowly and carefully cut along the marked line using a hand or electric circular saw.
- Cut slightly outside the marked line and then use a utility knife to trim back to the curve.
- Once the shingle has been cut, clean up any sawdust and debris.
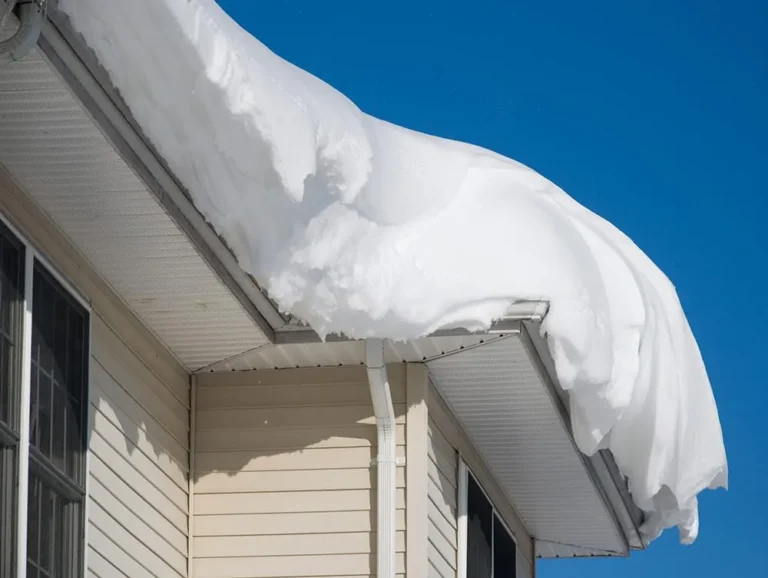
Maintaining Your Roof After Installation
Maintaining your roof after installation is essential for keeping it in good condition and preventing costly repairs. Regular inspections and maintenance can help extend the life of your roof and protect it from extreme weather conditions. Here are some tips for keeping your roof in excellent condition:
Inspecting for Damage Regularly
Inspecting your roof regularly can help you spot any damage that may have occurred due to weather conditions or other factors. Look for signs of wear and tear, including missing or damaged shingles.
If you notice any damage, take the necessary steps to repair it as soon as possible. The best time to inspect your roof is during the spring and fall. This will give you plenty of time to make any repairs before the extreme weather conditions begin.
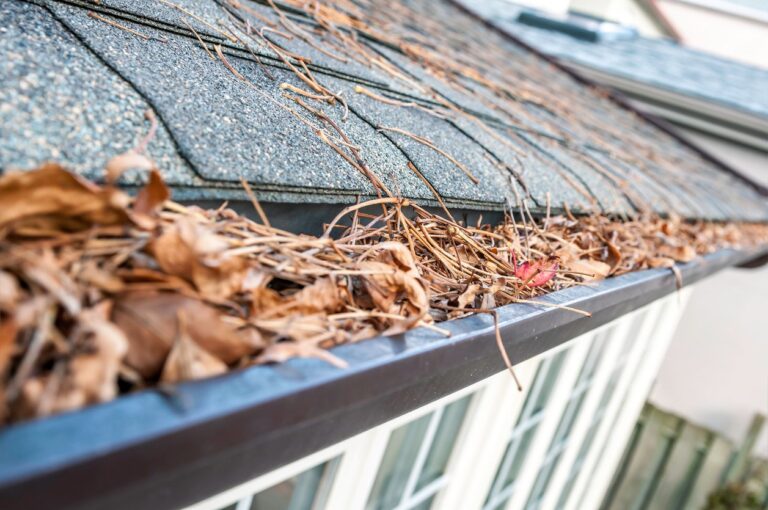
Cleaning Debris from Gutters and Downspouts

Cleaning out gutters and downspouts is another essential part of maintaining your roof after installation. Leaves, twigs, dirt buildup, all these things can clog up gutters. This will cause water to back onto the roof instead of draining away properly.
If not taken care of quickly enough, this could lead to leaks, so clean out these areas at least twice a year (or more often if necessary).
Replacing Damaged or Missing Shingles
Replacing damaged or missing shingles should be done as soon as possible. Missing pieces often cause water damage, which can lead to more significant problems down the road.
Be sure to use shingles that match your current roof to ensure your roof is still properly sealed. This should help prevent future issues from occurring.
FAQs
Do you still want to learn more about cutting shingles? The following are the most common questions from DIYers about this process.
How do you cut shingles off the edge of a roof in a straight line?

Cutting shingles off the edge of a roof in a straight line requires precision and accuracy. First, use a chalk line to mark the desired cutting line on the roof. Next, use a utility knife, or circular saw with an appropriate blade to cut along the drawn line, not damaging any surrounding materials.
How do you cut and stagger shingles?
Cutting and staggering shingles is a simple process that requires careful planning. First, measure the roof area to determine how many shingles you need and mark where each row should begin. Then, utilizing a utility knife, commence the first row of shingles with an overlap of three inches or more on either side.
Stagger subsequent rows by cutting them shorter than the previous one so that they create an offset pattern when laid down. Keep track of your measurements as you go along for accuracy and consistency in your work.
Conclusion
You now have the knowledge and tools to cut shingles like a pro. We hope this DIY guide has helped get you started on your roofing project. If you’re overwhelmed or want the job done right, contact Roof X professionals for expert advice and installation services.
Our team of experts is committed to helping homeowners get their roofs looking great without breaking the bank. So don’t hesitate to let us help ensure your home stays safe from rain, snow, wind, and other weather conditions!