How to Remove Shingles in 7 Easy Steps (DIY Guide)
February 27, 2023
Are you looking for a simple, effective way to remove old shingles from your roof? Removing shingles can be a labor-intensive task, but it can be done with the right tools and some patience.
If you want to ensure a precise roof replacement, pay attention to our tips below.
This blog post will show you how to do it in just a few easy steps. You’ll be able to remove old asphalt shingles and secure new ones in place with the help of our step-by-step instructions.
Gather the Right Materials
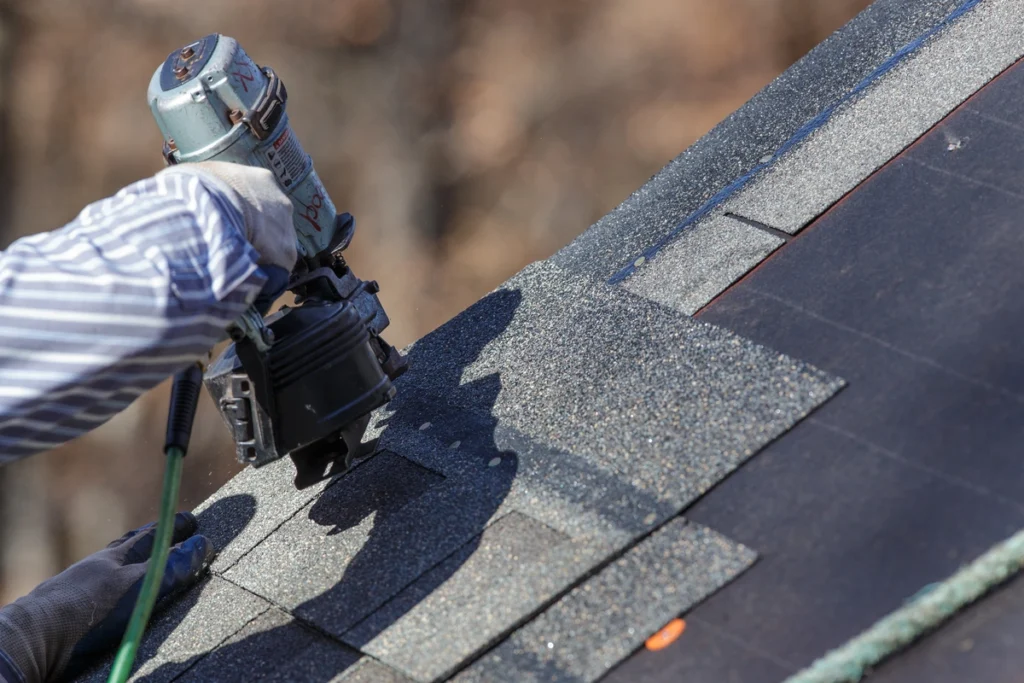
Before a roofing project begins, you need proper equipment, such as the following:
- electric drill
- screwdriver
- hammer
- utility knife
- roof felt paper
- flashing fabric strips
- nails
- flashing joint sealant tape
- protective gear, goggles, hard hats, and gloves
To lay out a roofing felt paper, one should first drill a hole in the roof, then use a hammer, a screwdriver, a utility knife, and a couple of nails to secure the paper around the roof’s edges. For flashing joints, one should apply sealant tape, cement caulk, and adhesive strips at the overlapping joints of all the shingles.
Remove the Old Roof Shingles
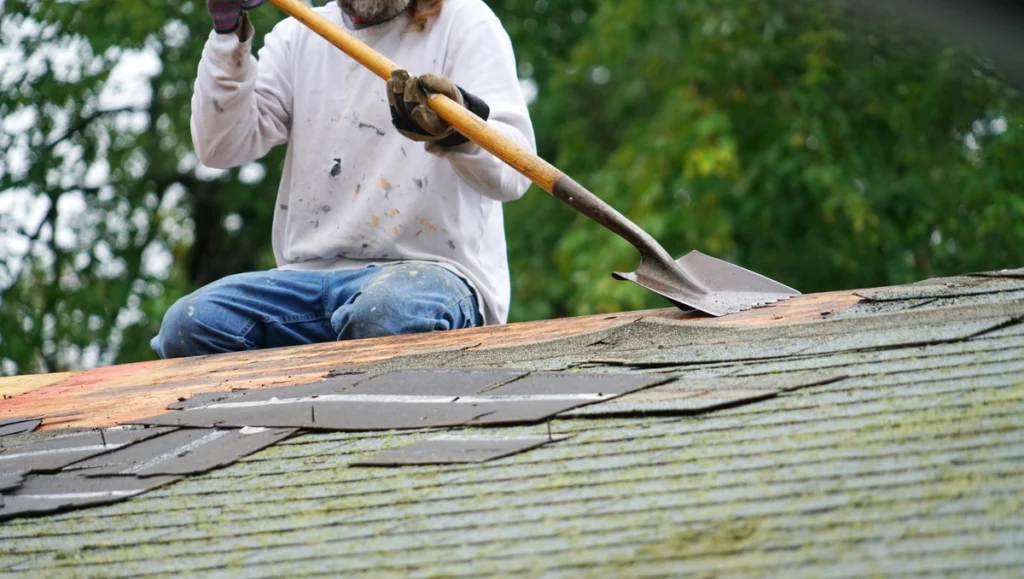
Here are some simple steps on how you can remove the roof shingles safely:
1. Wear Protective Gears
When it comes to removing old shingles, it’s important to do it safely and carefully so that it doesn’t cause any damage. This process can be accomplished by using a flat or pry bar. To avoid getting injured, wear protective equipment such as eye protection and gloves. You must also use a dust mask to protect yourself from debris and dust.
2. Lay Down An Underlayment
Although installing new shingles is not always easy, everyone can do it correctly if they practice. Before you start the shingle removal process, it’s important that you lay down an underlayment. It will help prevent moisture from the stray shingles from entering your home.
Start with shingle tabs, securing each tab onto the surrounding shingles in the roofing deck using long nails that are strong enough to penetrate both the shingle and the underlay. Ensure there are no gaps between the shingles directly between pieces of roof sheathing, as this can allow water infiltration to occur later on.
3. Seal With Adhesive Strips
Once the new shingles have been put on, it’s time to seal them with adhesive strips or a sealant. It will help prevent water from getting under them and keep them from lifting off during windy weather.
In addition, you may have to apply roof cement on the roof deck in certain clean areas, such as valleys and ridge caps. Note that before you start this process, make sure that you thoroughly read the manufacturer’s instructions.
4. Clean Up the Area
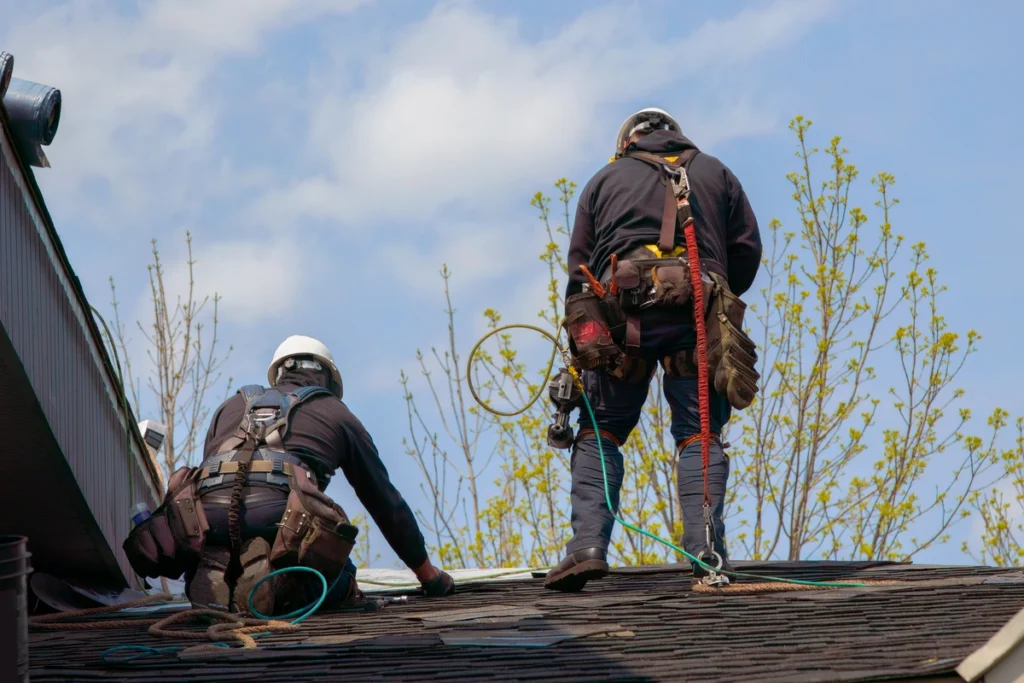
It can be a daunting task to remove old roofing nails and damaged shingles, but with the proper supplies and planning, it can be done safely and on time. After the roofing materials and the old shingles, or damaged shingles, have been taken out, the next step is to clean the existing shingles in the area where the shingles underneath will be installed.
You can sweep away or tear off any dust and debris from an old roof that might have been left behind from your previous job. Use a broom or leaf blower to tear off and thoroughly clean the roofing, or use a garden hose to remove dust and debris from the roof.
Also, you can clean the stains on and tear off the surface of stray or damaged shingles on the roof or gutters with a soft-bristled brush and a gentle cleaning solution. After the new shingles have been put on, inspect the entire roof and the surrounding area to ensure everything is debris-free.
5. Seal the New Asphalt Shingles in Place
Getting the new shingles sealed in place is a crucial step in ensuring that your roof is structurally sound and safe. Following the proper steps and paying attention to every detail will ensure the job is completed correctly.
This step involves putting a layer of sealant on top of the new roof and existing ones to prevent water from coming in and damaging the roof. To do this, you can start by making a caulk line on each roof shingle’s top edge. It will help prevent water from coming in and damaging the roof.
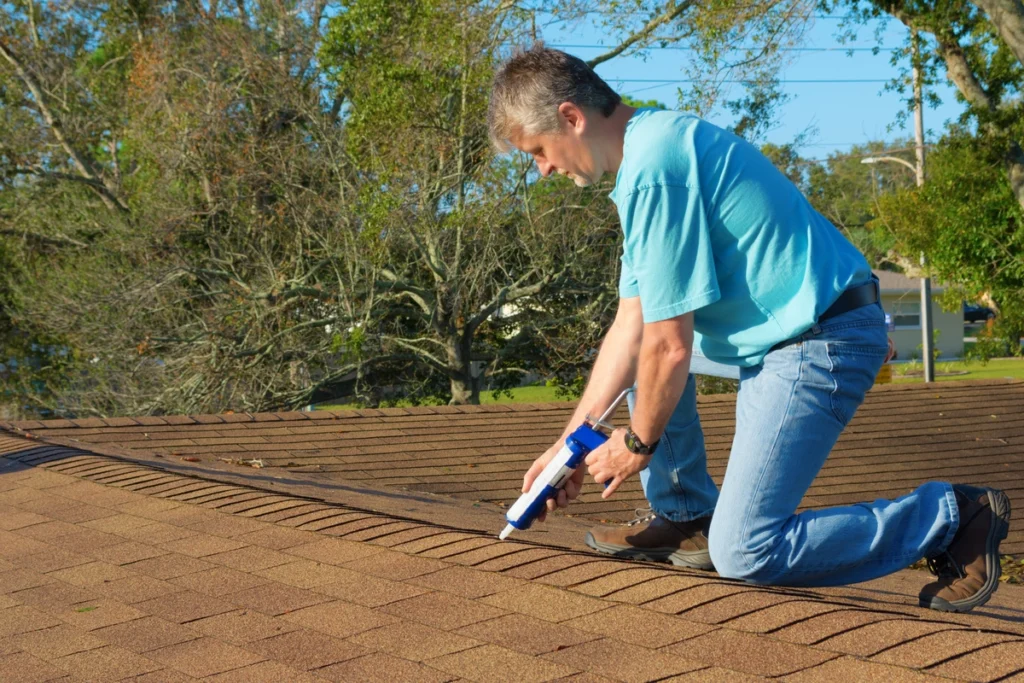
Also, before you apply roof cement, make sure that the edges of the shingle are covered with it so that the nails and screws don’t stick out. Doing so can prevent them from coming loose due to temperature changes or weather.
Before you take loose nails and start working on the next section of your project, make sure that you thoroughly take stray nails and check the work that you’ve done so far. Doing so will prevent them from wearing down quickly, which could lead to costly repairs later on.
6. Finishing Touches in Roof Deck
Before calling it a day on a roofing project, it’s important to ensure everything with loose shingles is done correctly. Having the proper installation of your shingles can help prevent water damage.
One important finishing touch is flashing metal pieces placed around various parts of your home, such as pipes, vents, and chimneys. When installing flashing, ensure the nails are designed for the roof. Also, make sure to apply sealant strips along ridge caps.
7. Preventive Measures
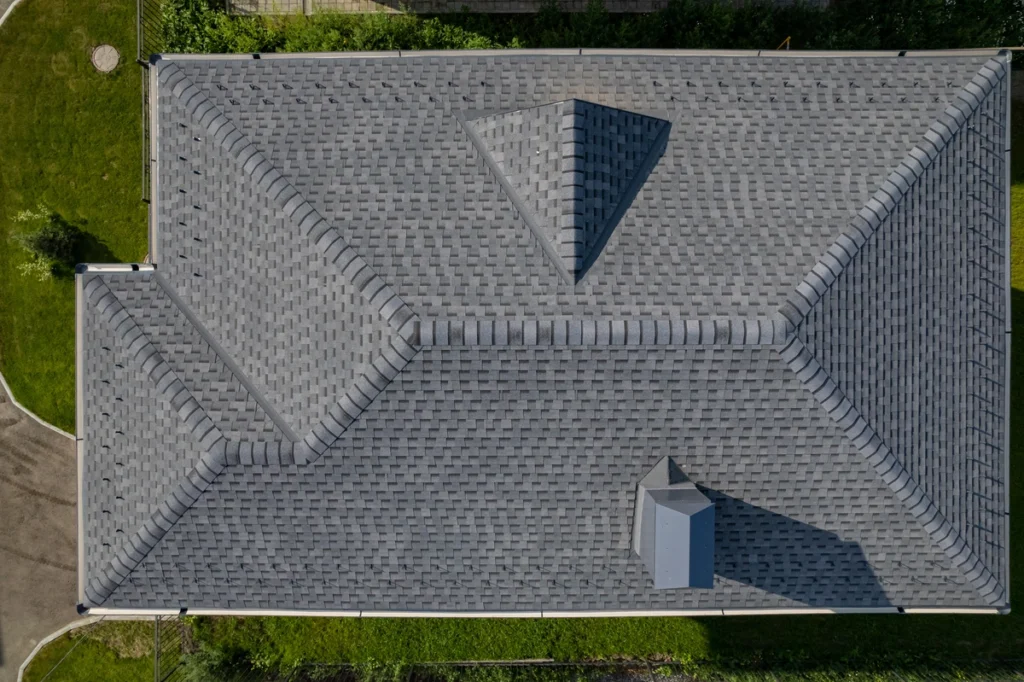
Use asphalt cement to prevent them from getting damaged during severe weather. Lastly, proper ventilation throughout your attic can help keep the space’s humidity levels down and avoid heat buildup, which can damage your shingles over time.
Thus, it’s important to inspect them for any gaps or misalignments. Having protective covers around your chimney, vents, and skylights can help prevent issues from happening in the future. Also, ensuring that the attic is properly ventilated can help prevent mold growth.
If these issues do arise, make sure to schedule the necessary repairs asap.
How to Remove Shingles – Conclusion
You can get rid of old shingles easily and quickly with the right tools and the right steps. This project requires no specialized knowledge, and anyone with basic DIY skills can complete it as long as you tackle the project with caution and avoid damaging the roof deck or sheathing.
So go ahead and gather all of your supplies, follow our step-by-step guide, and get started on removing your roof shingles.
Learn how to remove shingles in just a couple of easy steps with our step-by-step guide. This will allow you to save money and time. Learn more from our professional advice. Contact us today!

