How to Replace Blown Off Shingles in 5 Simple Steps
May 22, 2023
Mother Nature can really assault our homes. While asphalt shingle roofs can easily withstand a run-of-the-mill storm, as well as severe weather with winds of up to 80 mph, many of us live in places where even stronger winds are possible, and roof damage is a concern.
Replacing blown off roof shingles on your own can be daunting, but it doesn’t have to be. Sure, you’ll need some expertise in roofing and access to the necessary materials, but with diligence and care, you can easily repair roof shingles.
1) Gather the Necessary Materials
The first step for roof repair is getting all the required components in one spot. As far as tools go, you’ll need:
- A hammer.
- Roofing nails.
- A caulking gun and sealant.
- A utility knife or scissors.
- A ladder.
And you’ll also need replacements for the missing shingles. Ensure you have access to matching shingles in the desired color and style, as well as roofing underlayment paper. And don’t forget safety equipment such as goggles or glasses with UV protection and work gloves, which should be worn at all times while working on a roof.
Preparing the required materials beforehand can greatly enhance the efficiency of roof shingle replacement when the process begins. Make sure to invest in high-quality roofing materials and tools; the saying “you get what you pay for” holds true in this context.
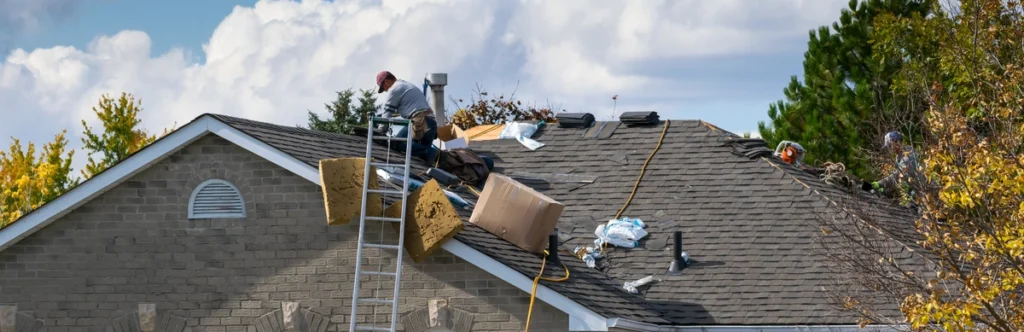
2) Prepare the Roof for Repair
The roof surface must go through some prep before you can start attaching things to it. So the first step of preparation is inspecting the entire roof.
Examine the roof and existing shingles for any signs of roof damage or deterioration, such as cracks, loose nails, discoloration, or moss growth. If wind or other weather conditions have damaged any shingles, delicately take them off with a hammer and chisel or a pry bar.
Once you’ve removed the damaged shingle or shingles and any remaining nails, use a broom or leaf blower to clean up any debris left behind from removing them. Spending time on this step will help ensure that, with your repair job, new shingles properly adhere to create an even layer across your entire roof surface.
3) Install New Shingles
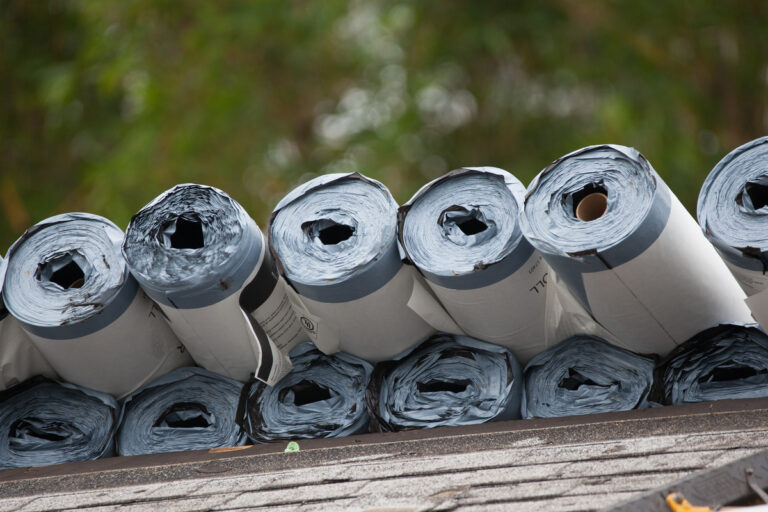
A quality shingle job — whether you’re replacing a few damaged ones or laying down a brand-new roof — requires underlayment paper. This paper serves as a barrier between the roof and the shingles, helping protect against water damage.
Underlayment Paper
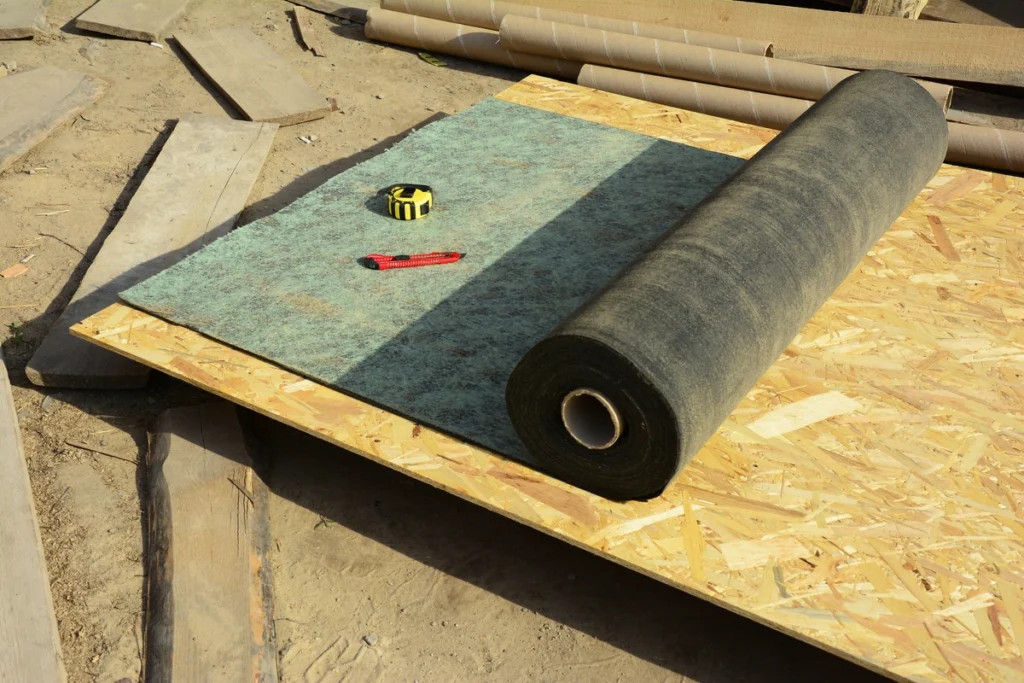
If the underlayment paper beneath the damaged roof shingles you’ve removed is itself damaged, you’ll want to replace it. Without this step, an improper installation will cause future headaches.
Cut some underlayment paper to the approximate shape of the area you need to replace, but cut it a little larger so the edges will overlap the opening.
Secure the paper in place on the roof with nails or staples, and then it’s time to replace the missing roofing shingles.
Replace Shingles
The next part of the job involves setting the new roof shingles in place, which, in turn, requires you to tap into the Tetris skills you developed as a kid. Depending on the overall shape of the old shingles you’re replacing, you may need to wedge shingles into place, and there’s the chance you may need to cut individual roof shingles to fit.
Be sure the shingles overlap. Failure to do so equals a faulty installation, in which case, you’ll have the same problems as you would with a missing shingle.
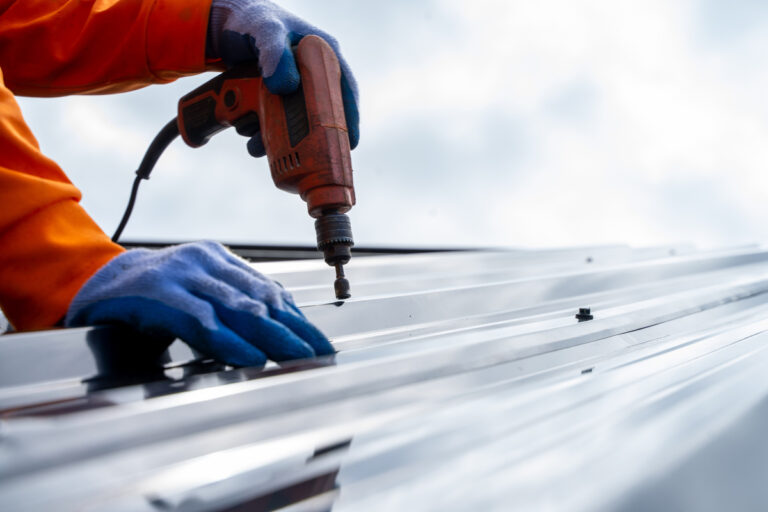
4) Secure the New Shingles in Place
Once the new shingles are in place, it is essential to secure them by nailing them down correctly.
Secure each new shingle with galvanized nails placed an inch above each tab slot in the underlying course of shingles below it. This is an important step. If you don’t nail them correctly to the roof, you’ll have to do this again the next time a strong storm rumbles through your neighborhood.
The galvanized nails are critical, but not just any nails will do. You’ll need roofing nails — that is, nails with large heads— so they don’t pull out over time due to wind or other forces acting on them.
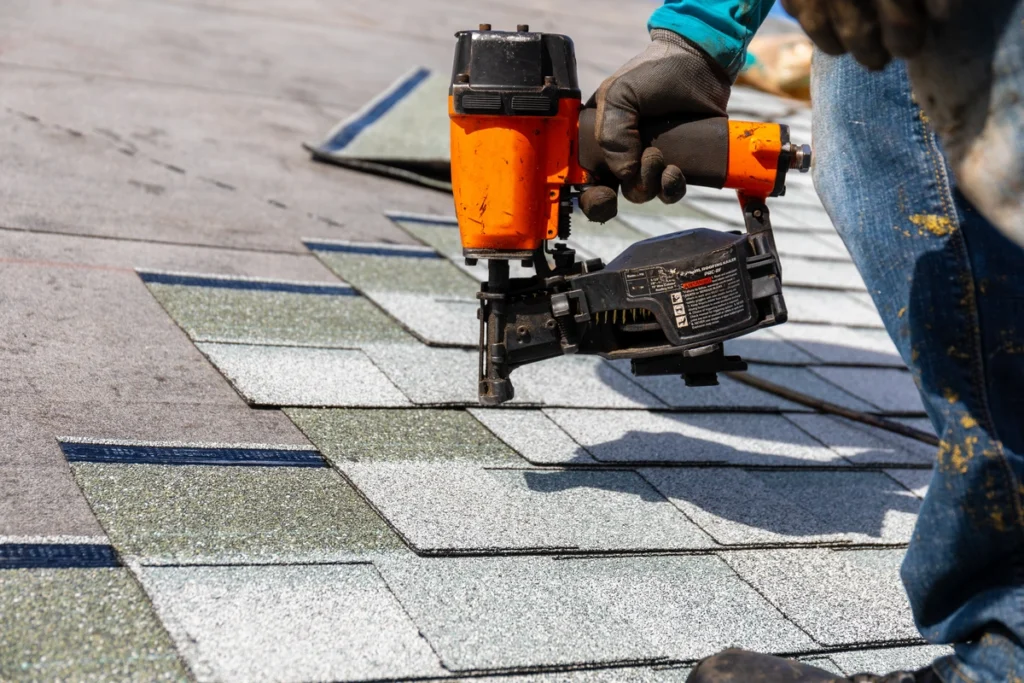
Once you have secured the roof shingles in place, apply a generous bead of asphalt-based sealant around all nail heads for added protection against water infiltration.
Finally, removing damaged shingles may have interfered with flashing pieces such as ridge caps. If you came close to those roofing elements, you need to be certain they’ve been set back in place. Some additional sealant is warranted to ensure the flashing can still do its job of shielding edges from the damaging properties of water.
Finding Leaks Sooner Rather Than Later
When this is done, grab the garden hose to check for leaks.
Spray the parts of the roof surface you’ve repaired, and pay special attention to getting water on any flashing you dealt with. After a good soaking, get to the attic and look for any signs of leakage to prevent further damage. It’s better to discover a roof leak on a hot summer day than during a storm.
5) Finalize the Repair Job
You’ve checked that the shingles are correctly nailed and aligned, sealed it with caulking, and sought out signs of damage or loose nails. All that’s left is to remove nails and other debris from your repair job. When you took down the old roof shingles, you may have dropped some or all the old nails or pieces of shingles onto the ground, and you’ll want to be sure these need to get picked up.
A nail on your driveway can lead to a flat tire. A nail in your yard can lead to a tetanus shot, so make sure everything is spotless when you’re done.
Wrapping Up
Patience is key to replacing blown off shingles, but your diligence gets rewarded with a good roof repair. A repair job can also help with your energy bills by improving insulation. You can replace damaged shingles if you have the skill, tools, and a lack of acrophobia.
If done correctly, replacing blown off shingles will provide years of protection from the elements for your home or business property. Take the initiative and start replacing your blown off shingles yourself. With the right tools and some elbow grease, you can save time and money on roof repairs.
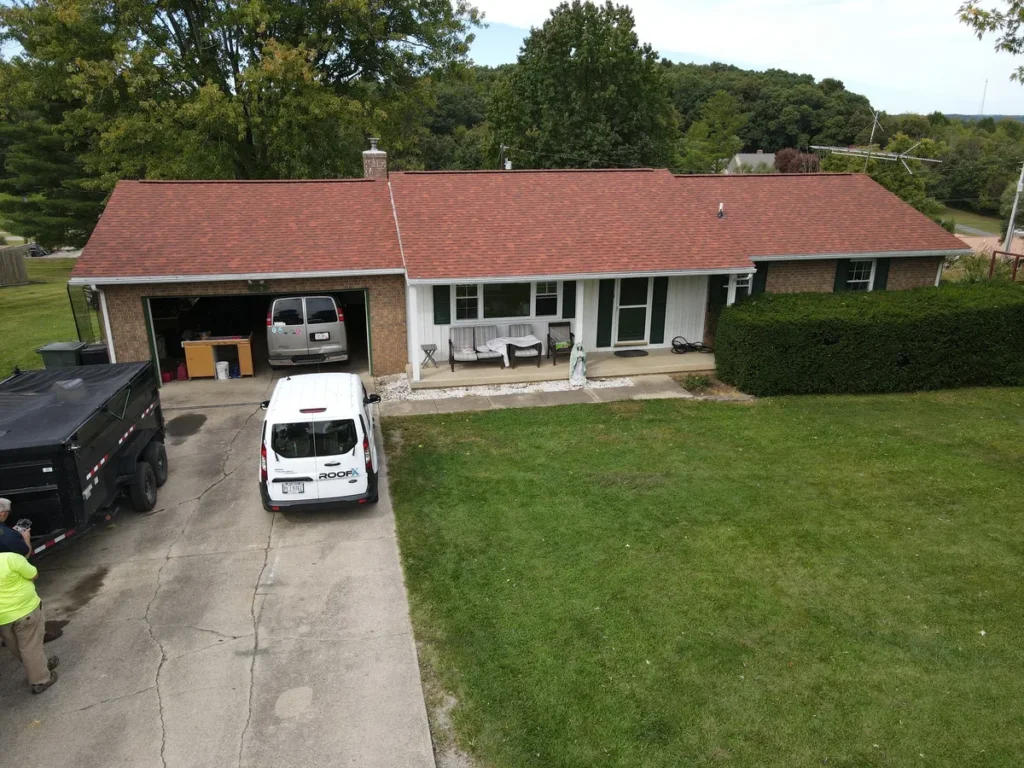
If you need assistance with a project like replacing missing shingles, or if it’s something you don’t feel comfortable doing yourself, reach out to Roof X. We can help, and we want to help. It’s what we do!