Roof Leak Repair in 11 Steps (Homeowner’s Guide)
January 16, 2024
Look, it’s no secret that dealing with a pesky roof leak can be quite a headache, but before your start sweating – know that we’ve got your back with all the helpful tips you need. In this guide, we’re going to take you through the 11 essential steps to tackle that roof leak like a pro. So, grab your tool belt and let’s get started!
Ready to get your roof repaired?
But not so sure where to start?
Inside this blog:
- The 11 key steps to repairing a roof leak in a safe and effective way
- Tips + tricks for each key step to help you successfully repair a roof leak
Ready to become a DIY expert on roof leak repair? Start scrollin’!
1. Assess the Situation 🕵️♀️
The first step in any roof leak repair is to assess the situation:
- Locate the Leak: Start by finding the source of the leak inside your home, usually by tracing water stains or drips.
- Check the Attic: If you have access to the attic, inspect for any visible signs of water entry or damage.
- Outside Inspection: Examine your roof from the ground to see if there are any visible signs of damage, like missing shingles or cracked flashing.
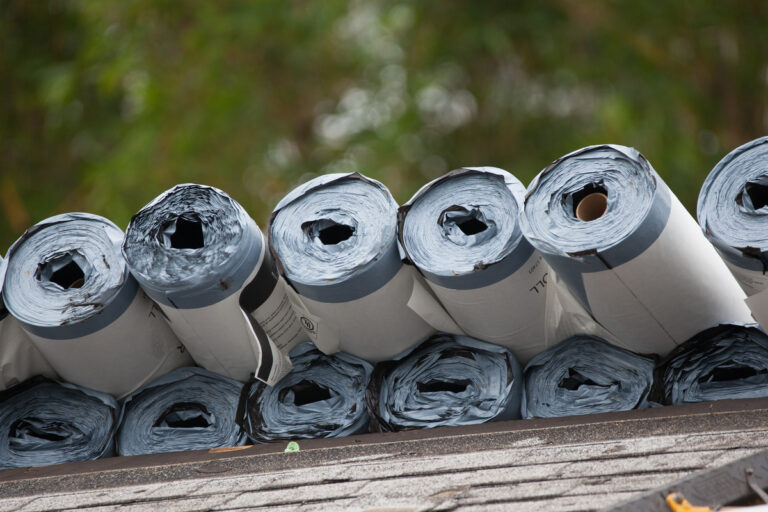
2. Gather Your Tools and Materials 🧰
Before you climb up onto the roof, make sure you have all the necessary tools and materials ready:
- Safety Gear: Ensure you have a sturdy ladder, non-slip shoes, and safety harness if needed.
- Tools: Grab a hammer, roofing nails, utility knife, caulking gun, roofing cement, and a pry bar.
- Materials: Depending on the repair, you might need spare shingles, flashing, or roofing felt.
3. Safety First ☝️
Safety should always be your top priority:
- Don’t Work Alone: Have a buddy with you or let someone know you’re working on the roof.
- Check the Weather: Avoid working on a wet or windy day, as it can make your roof slippery and dangerous.
- Use Proper Safety Gear: Always wear a safety harness if the pitch of your roof is steep.
4. Tarp the Area ⛱️
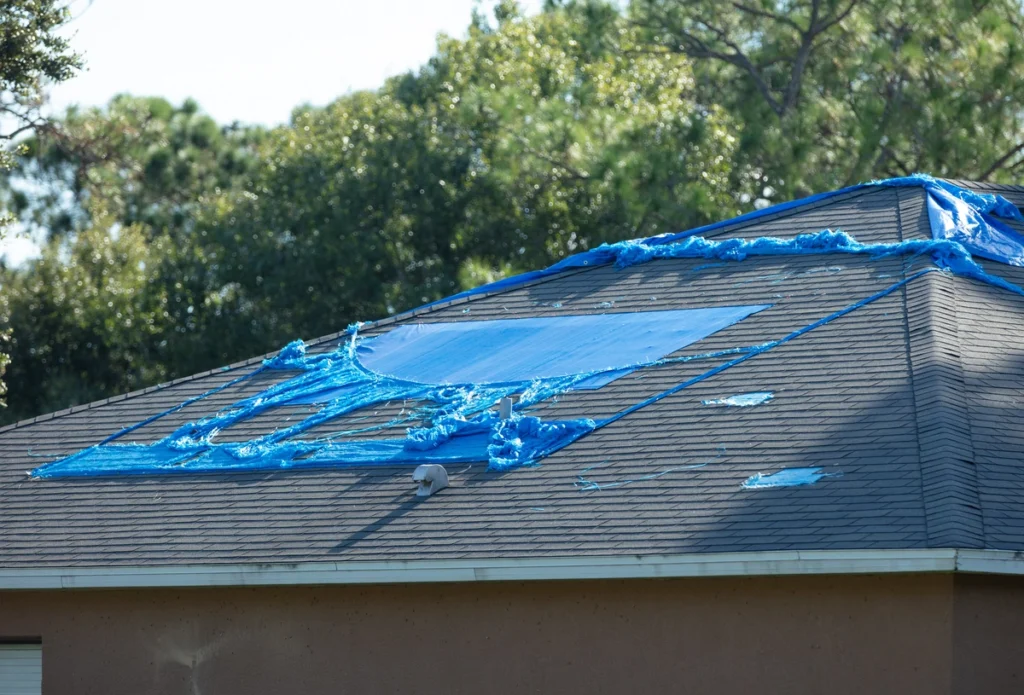
If you’ve located the leak and it’s safe to proceed, it’s time to prevent further water infiltration:
- Use a Tarp: Cover the damaged area with a waterproof tarp, securing it with nails or sandbags.
- Extend Beyond the Damage: Make sure the tarp extends well beyond the damaged section to ensure full coverage.
5. Clean the Area 🧹
Before making any repairs, it’s essential to clean the damaged area:
- Remove Debris: Clear away any leaves, dirt, or old sealant to ensure a good bond.
- Scrape Off Old Sealant: If you find old sealant, use a putty knife or scraper to remove it.
6. Seal the Leak 🩹
Now it’s time to seal up that leak:
- Apply Roofing Cement: Use roofing cement to seal any cracks, gaps, or holes. Make sure to cover the entire damaged area thoroughly.
- Smooth It Out: Smooth the roofing cement with a putty knife to ensure a tight seal.
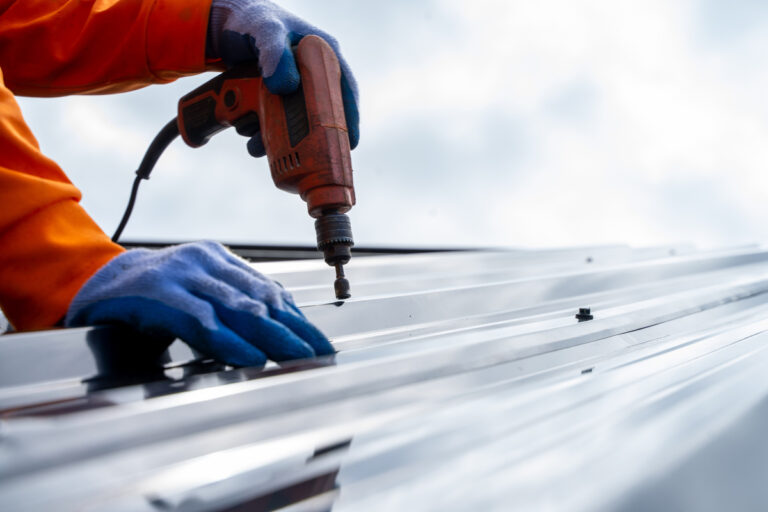
7. Replace Missing Shingles 🏠
If you’ve got missing shingles, here’s what to do:
- Remove Nails: Carefully remove any nails holding down the damaged shingle.
- Slide in the New Shingle: Slide the new shingle into place, making sure it’s aligned with the existing ones.
- Secure It: Nail the new shingle in place and seal the nail heads with roofing cement.
8. Check Flashing and Vents 🏭
Flashing and vent boots are common culprits of leaks:
- Inspect Flashing: Check for cracked or deteriorated flashing around chimneys, skylights, and vents.
- Replace Damaged Flashing: If you find issues, replace the damaged flashing with new material.
- Seal Around Vents: Use roofing cement to seal around vent boots and ensure a watertight seal.
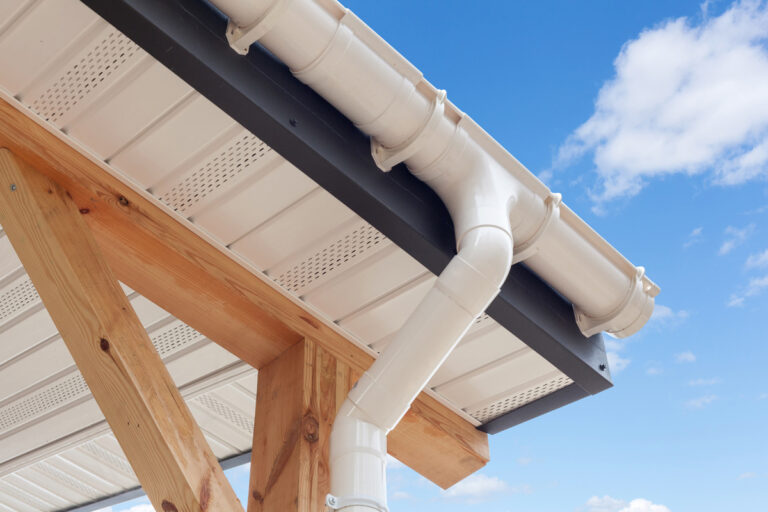
9. Inspect Your Gutters and Downspouts 🪠
Clogged gutters can lead to roof leaks:
- Clean Gutters: Remove debris from your gutters to ensure proper water drainage, preventing potential clogs that can lead to overflowing water and damage to your home.
- Check Downspouts: Ensure downspouts are clear and direct water away from your home’s foundation, as properly functioning downspouts help prevent water from pooling around your property and causing structural issues.
10. Document the Repair 📸

Documenting the repair is essential for insurance purposes:
- Take Photos: Capture clear photos of the damaged area before and after the repair to not only document the damage but also to have visual evidence of the effectiveness of your repair job.
- Keep Records: Maintain records of materials purchased and work performed for future reference, as this information can be invaluable when you need to discuss maintenance or repairs with roofing professionals or for insurance claims.
11. Regular Maintenance 🏗️
To prevent future leaks, consider these maintenance tips:
- Regular Inspections: Schedule annual roof inspections to catch potential issues early.
- Keep Gutters Clean: Clean gutters and downspouts regularly to prevent clogs.
- Trim Overhanging Branches: Prevent branches from damaging your roof during storms.
Don’t Forget! Your Roof Leak Repair Checklist
- Assess the Situation: Locate the leak and inspect your roof.
- Gather Your Tools: Ensure you have the necessary equipment.
- Prioritize Safety: Follow safety guidelines to protect yourself.
- Tarp the Area: Prevent further water infiltration with a waterproof tarp.
- Clean the Area: Remove debris and old sealant from the damaged area.
- Seal the Leak: Use roofing cement to seal cracks and gaps.
- Replace Missing Shingles: Secure new shingles if necessary.
- Check Flashing and Vents: Inspect and replace damaged flashing or vent boots.
- Inspect Your Gutters: Keep gutters and downspouts clear of debris.
- Document the Repair: Take photos and keep records for insurance purposes.
- Regular Maintenance: Schedule annual inspections and keep your gutters clean.
Protect Your Home From Water Damage With Roof Leak Repair
With these 11 steps in mind, you can confidently tackle roof leaks and protect your home from further water damage. Remember, if the damage is extensive or you’re unsure about the repair, it’s always a good idea to consult a professional roofing contractor.
Get in Touch with our team of X’perts at Roof X today and we’ll ensure your next roofing project goes off without a hitch! We can’t wait to get started and give you a roof that’s built to stand against the elements and protect your home.