6 Step Roof Vent Installation Guide for 2024
March 13, 2024
Are you looking to improve ventilation in your home while also enhancing energy efficiency? Roof vent installation might just be the solution you’re looking for!
Roof vents play a crucial role in regulating temperature and moisture levels in your attic, which can help prevent issues like mold, mildew, and excessive heat buildup. In this homeowner’s guide, we’ll walk you through the six simple steps to install roof vents like a pro. So, let’s get started on keeping your home comfortable and healthy!
Reach out to a qualified roofing contractor for reliable solutions.
But first, get informed by reading our guide!
Inside this blog:
- Common types of roof vents
- 6 actionable steps to help you tackle roof vent installation
- The benefits of roof ventilation
Keep reading to learn everything you need to know about roof vent installation and how to install roof vents to keep your home breathing easy!
Understanding the Importance of Roof Vents

Before we dive into the installation process, let’s take a moment to understand why roof vents are essential. Proper attic ventilation helps regulate temperature and humidity levels, which can prevent moisture-related issues like mold growth and wood rot. Additionally, adequate ventilation can extend the lifespan of your roof by reducing the risk of shingle damage and premature deterioration. By installing roof vents, you’re not just improving your home’s comfort – you’re also protecting its structural integrity.
Types of Roof Vents 🔄
There are several types of roof vents to choose from, including:
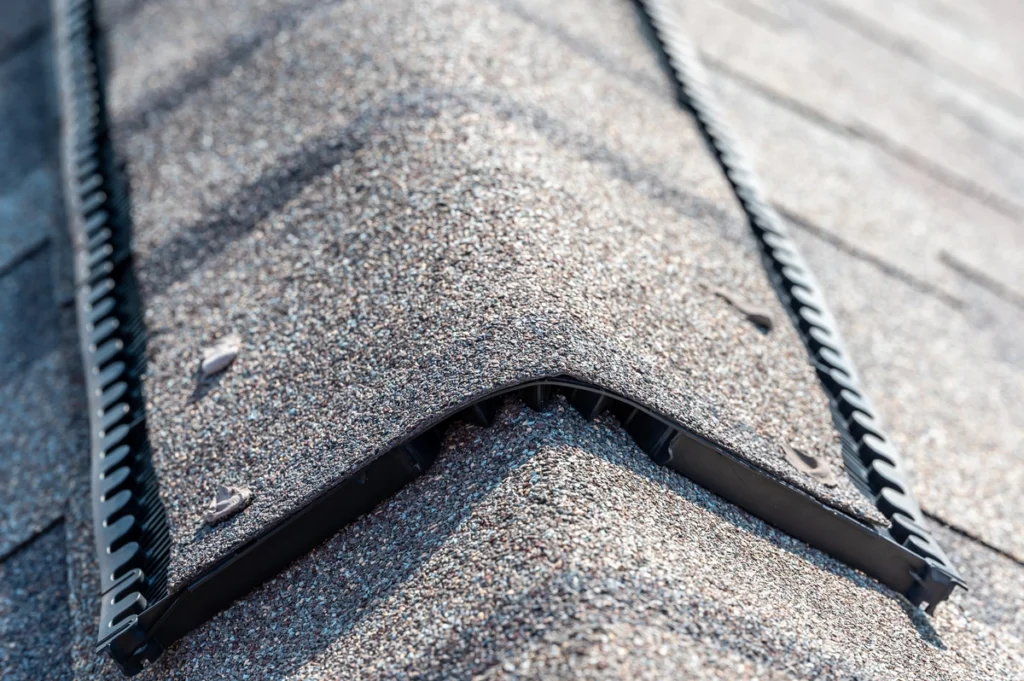
- Ridge vents: Installed along the peak of the roof, ridge vents allow warm air to escape from the attic while preventing rain and snow from entering.
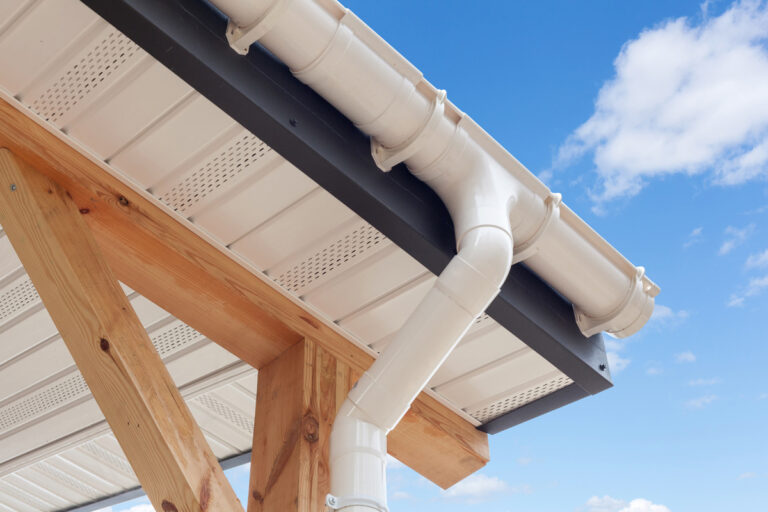
- Soffit vents: Positioned under the eaves of the roof, soffit vents intake cool, fresh air from outside, promoting air circulation within the attic.
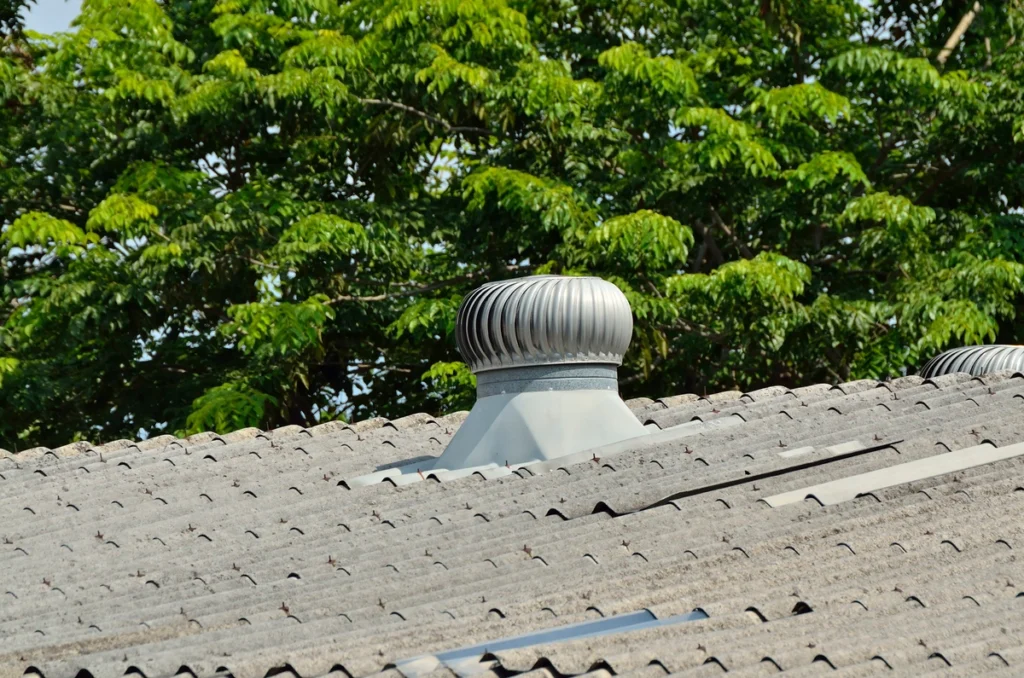
- Gable vents: Located at the gable ends of the roof, gable vents provide additional ventilation by allowing hot air to escape from the attic.
Choosing the right type of vent for your home will depend on factors such as roof design, climate, and attic size.
🧰 Materials and Tools You’ll Need 🧰
Before you begin the installation process, make sure you have the following materials and tools on hand:
- Roof vents (either ridge, soffit, or gable vents depending on your preference)
- Roofing nails or screws
- Caulk or roofing cement
- Roofing adhesive or sealant
- Drill with a suitable bit
- Hammer
- Pry bar or flathead screwdriver
- Safety gear (gloves, goggles, and a sturdy ladder)
🏗️ Step-by-Step Installation Guide
Now, let’s walk through the six steps to install roof vents:
1. Choose the Location
Determine the ideal location for your roof vents based on the layout of your attic and the type of ventilation you need. Consider factors such as prevailing wind direction and the placement of obstacles like chimneys or dormers. For ridge vents, position them along the peak of the roof, ensuring they are evenly spaced for maximum airflow. Soffit vents should be strategically placed under the eaves to facilitate air intake while minimizing exposure to rain and snow.
2. Prepare the Area
Clear any debris or obstructions from the installation site and ensure the surrounding area is clean and dry. Take the time to inspect the roof surface for any signs of damage or deterioration that may need to be addressed before installing the vents. Additionally, check for proper attic insulation and ventilation to optimize the performance of your new roof vents.
3. Install the Vent
Position the roof vent in the chosen location and secure it in place using roofing nails or screws. Ensure that the vent is level and properly aligned with the roof surface to prevent water infiltration and maintain aesthetic appeal. Be mindful of any nearby roofing features, such as valleys or dormers, and adjust the placement of the vent accordingly to ensure optimal functionality.
4. Seal the Edges
Apply a bead of caulk or roofing cement around the edges of the vent to create a watertight seal. Pay close attention to areas where the vent meets the roof surface to prevent leaks and ensure long-term durability. Smooth out the caulk or cement to achieve a clean finish and allow sufficient time for it to cure before exposing the vent to the elements.
5. Test for Adequate Airflow
Once the vent is installed and sealed, test for adequate airflow by observing any changes in attic temperature and humidity levels. Use a thermometer and hygrometer to monitor conditions over time and make adjustments as needed to optimize ventilation efficiency. Consider installing additional vents or fans if airflow is insufficient to meet your home’s ventilation requirements.
6. Perform Regular Maintenance
To keep your roof vents functioning optimally, perform regular maintenance tasks such as clearing debris from the vents, inspecting for damage, and resealing any areas that may have become compromised over time. Schedule annual inspections to assess the condition of your roof vents and address any issues before they escalate into costly repairs. By staying proactive with maintenance, you can extend the lifespan of your roof vents and ensure continued protection for your home.
Benefits of Roof Ventilation

Investing in proper roof ventilation offers several benefits, including:
- Improved indoor air quality
- Reduced energy costs
- Extended lifespan of roofing materials
- Prevention of moisture-related issues
- Enhanced comfort and livability of your home
By following this simple installation guide and choosing the right roof vents for your home, you can enjoy these benefits for years to come.
🌬️ Breathe Easy with Proper Roof Ventilation
Installing roof vents is a straightforward and effective way to improve ventilation in your home and protect its structural integrity. By following these six steps and investing in quality materials, you can ensure that your roof ventilation system operates efficiently for years to come. So, don’t wait – give your home the gift of fresh, clean air today!
Contact our X’pert team of roofers at RoofX today for top tier craftsmanship and dedicated customer service. We’ll make sure your home stays standing strom with a solid roof over its head for years to come.


