7 Step Tile Roof Repair for Every Handy Homeowner
January 23, 2024
When it comes to your home, the roof is like the crown jewel. And if you have a tile roof, it’s not only functional but also adds a touch of elegance to your property. However, over time, even the sturdiest tile roofs might need some TLC.
Get started on your next roofing project today!
In this guide, we’re going to walk you through a 7-step tile roof repair process that any handy homeowner can tackle. Get ready to channel your inner DIY expert!
Inside this blog:
- 7 key steps for homeowners to follow for effective tile roof repair
- Tips + tricks for each tile roof repair step
- Guidelines for how to keep your tile roof clean
Keep reading to learn everything you need to know about tile roof repair and ensure your roof stays in tip-top shape all year round!
1. Assess the Damage 🕵️♂️

Before you dive into any repair project, you need to assess the extent of the damage. Here’s how to do it:
- Walk the Roof: Carefully walk your roof to inspect for cracked, broken, or loose roof tiles. Use a stable ladder to access the roof safely.
- Check for Leaks: Inside your home, look for water stains or damp areas on the ceiling or walls to identify potential leak points.
- Inspect Flashing: Examine the roof flashing around chimneys, vents, and skylights for signs of damage or deterioration.
2. Gather Your Tools and Materials 🧰
Once you’ve assessed the damage, gather the tools and materials you’ll need for the repair:
- Safety Gear: Wear non-slip shoes, gloves, and safety glasses for protection.
- Replacement Tiles: Purchase replacement tiles that match your existing ones in terms of style and color.
- Tile Adhesive: Get a tile adhesive or roofing cement for securing tiles.
- Replacement Flashing: If needed, buy replacement flashing to ensure watertight seals.
- Ladder: Ensure you have a stable ladder to access the roof safely.
3. Safety First ☝️
Safety is paramount when working on your roof. Here are some safety tips to keep in mind:
- Use Fall Protection: Consider using a safety harness if you’re working on a steep roof.
- Work on Dry Days: Avoid working on a wet or rainy day to prevent slipping.
- Inform Someone: Let someone know you’re working on the roof in case of an emergency.
4. Replace Damaged Tiles 🏚️
Now comes the actual repair. Here’s how to replace damaged tiles:
- Carefully Remove Broken Tiles: Use a flat pry bar to gently lift the damaged tiles and remove them.
- Clean the Area: Remove any debris or old adhesive from the area where the tile was.
- Apply Adhesive: Apply a layer of tile adhesive or roofing cement to the back of the replacement tile.
- Secure the Tile: Place the replacement tile in position and press it down firmly to adhere it in place.
- Check Alignment: Ensure that the replacement tile aligns correctly with the surrounding tiles for a seamless look.
5. Repair Flashing and Sealants 🏭
Flashing is crucial for preventing a roof leak. Here’s how to repair it:
- Remove Old Flashing: If the flashing is damaged, carefully remove it and clean the area beneath, ensuring there are no residual debris or old sealant that might compromise the effectiveness of the new flashing.
- Apply New Flashing: Install new flashing using roofing nails or screws to secure it, making sure it fits snugly and aligns properly with the surrounding roofing materials to maintain a seamless and protective barrier.
- Seal Joints: Seal all joints and edges with roofing cement to ensure a watertight seal, paying extra attention to areas where flashing meets other roofing components to prevent potential leaks and water intrusion.
6. Perform a Water Test 💧
After completing the repairs, it’s essential to perform a water test to ensure your roof is leak-free, so that you don’t have to deal with tile roof leak repair down the road.
- Enlist a Helper: Have a friend assist you by spraying water on the repaired area with a hose, making it easier to spot any potential leaks as they occur.
- Check Inside: While your helper is spraying, check inside your home for any signs of leaks, such as water stains or dripping, to ensure that the repair effectively prevents water infiltration.
- Inspect Carefully: Pay close attention to the area you repaired and surrounding tiles, looking for any gaps or issues that may require additional attention or resealing to maintain a watertight seal.
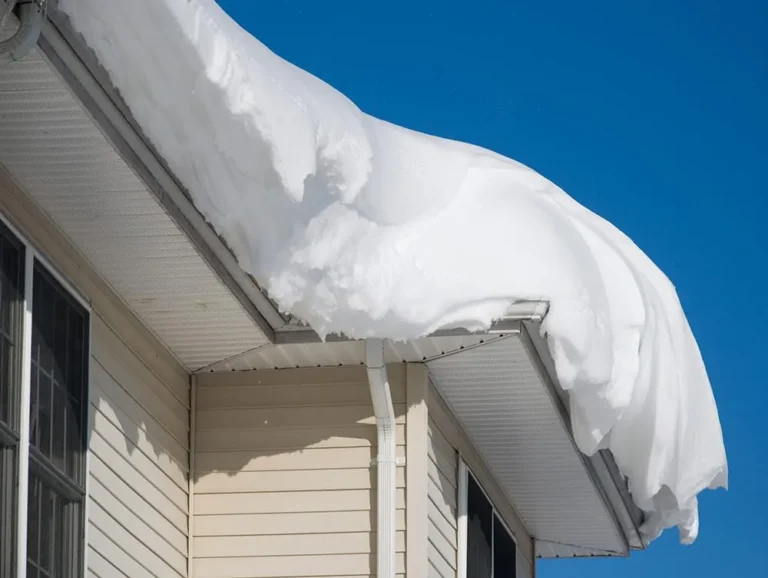
7. Regular Maintenance 🏗️

Prevention is always better than cure. To avoid future tile roof repairs, consider these maintenance tips:
- Regular Inspections: Schedule annual roof inspections to catch potential issues early.
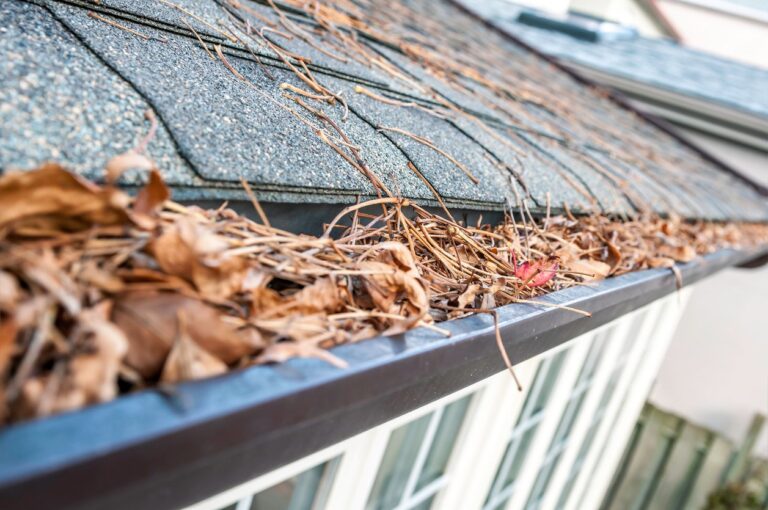
- Keep Gutters Clean: Clean gutters and downspouts regularly to prevent clogs that can lead to water damage.
- Trim Overhanging Branches: Trim tree branches that overhang your roof to prevent damage during storms.
A Bonus: Cleaning Your Tile Roof 🌟
Maintaining the cleanliness of your tile roof can extend its lifespan and enhance its curb appeal. Here’s a quick guide:
- Safety First: Use a stable ladder and follow safety precautions, ensuring the ladder is on a level surface and properly secured to prevent accidents.
- Remove Debris: Sweep or blow off leaves, twigs, and debris from the roof, paying special attention to valleys and gutters where debris tends to accumulate.
- Pressure Wash: Use a pressure washer with a low-pressure nozzle to clean the tiles gently, starting from the top of the roof and working your way down to avoid pushing water under the tiles.
- Avoid High-Pressure: High-pressure washing can damage the tiles, so use low pressure to avoid causing any unintended harm to your roof’s surface.
- Mildew or Algae: For mildew or algae, use a mixture of water and mild detergent, and gently scrub the affected areas with a soft-bristle brush before rinsing thoroughly.
Tackle Tile Roof Repairs Confidently
With these 7 steps and bonus maintenance tips in mind, you can confidently tackle tile roof repairs and keep your home protected for years to come. Remember, if you’re unsure about the extent of the damage or the repair process, it’s always wise to consult a professional roofing contractor. Your tile roof is a valuable asset, so take good care of it!
Get in Touch with our team of X’perts at Roof X today and we’ll ensure your next roofing project goes off without a hitch! We can’t wait to get started and give you a roof that’s built to stand against the elements and protect your home.