How to Shingle a Roof in 4 Steps [DIY Guide]
March 13, 2023
Installing roof shingles is a complex process that requires some knowledge and experience with basic carpentry skills. If you’re unsure how to shingle a roof, this step will teach you everything you need to know to get started.
Let’s upgrade your roof together.
In just a few minutes, you’ll be able to learn how to install a first course of asphalt shingle and an underlayment.
Gather the Necessary Materials

Before starting any roofing project, you must have all the necessary components to complete the job. One of the most important items that you should have is good quality roof shingles. This type and course of shingles material will serve your project’s needs and can vary in size and form.
Other materials that you need are the following:
- Underlayment (tar paper or synthetic)
- Drip edge
- Nails
- Roofing cement
Tools:
- Hammer
- Utility knife
- Chalk line
- Roofing nail gun or roofing nails
- Tape measure
- Ladder
- Protective gears
A layer of underlayment can be purchased to protect the new exterior walls and roof deck shingles from the elements. When installing shingles, use a hammer, nails, and a ladder to reach higher ground. Eye protection and gloves should also be worn while working on asphalt shingles on a roof deck.
Prepare the Roof Surface
Before a roofing project can start, preparing the roof’s surface is important. Here are the simple steps:
- The first step involves removing all the existing materials on the roof, such as the existing shingles and the underlayment. This process can be done by using a crowbar or hammer. After removing the last layer, inspecting the roof for any signs of decay or damage is important.
- Old shingles’ damaged areas should be repaired using new materials such as plywood.
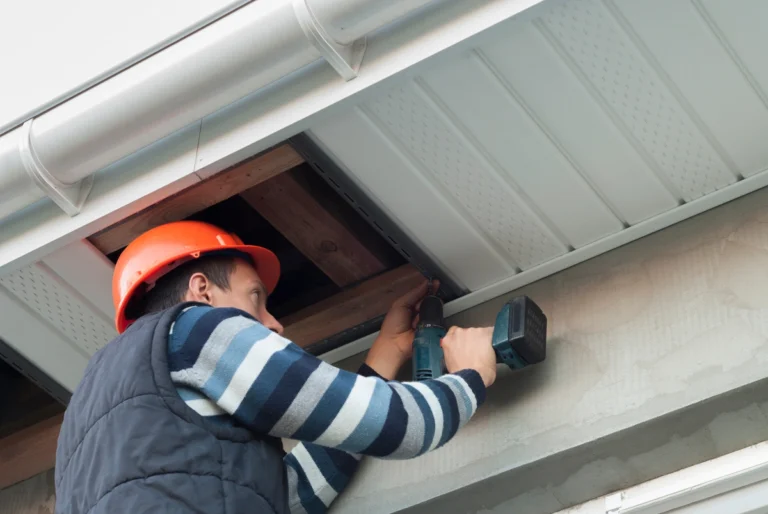
- Also, checking for proper ventilation is important during an inspection to prevent mold and rot from developing in the roof decking area. If additional vents are required, they should be installed before laying down new materials.
- It’s also important to ensure that there aren’t nail heads sticking out of the rake edges of the decking that will eventually puncture. This process should take some time to complete.
Install the New Underlayment Layer
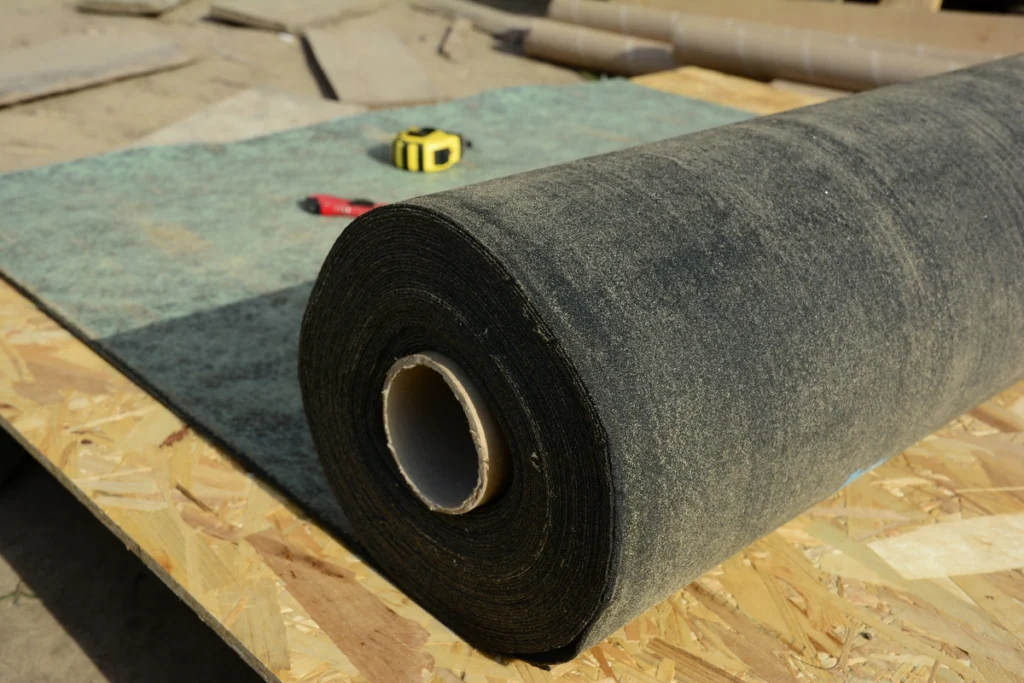
After thoroughly checking everything, it’s time to install the new underlayment layer over the previously cleaned surface. Again, remember that you must wear protective equipment, such as goggles and gloves, while working around sharp objects and exposed metal flashing nails.
Thoroughly install the underlayment to the roofing materials to prevent water damage and provide a solid base for the asphalt shingles. To ensure it’s installed correctly, you should measure and cut the fabric to fit the area where the drip edge of the decking will be. Then, secure it with staples or nails.
After measuring and cutting the underlayment to suit each piece of roof decking, use galvanized steel fasteners every 6 inches along the top edge of the straight roof edge and every 12 inches in the field to keep the roof edges around it in place. Lastly, use caulk or sealant to seal any seams between sheets for added protection against ice and water entry into your property.
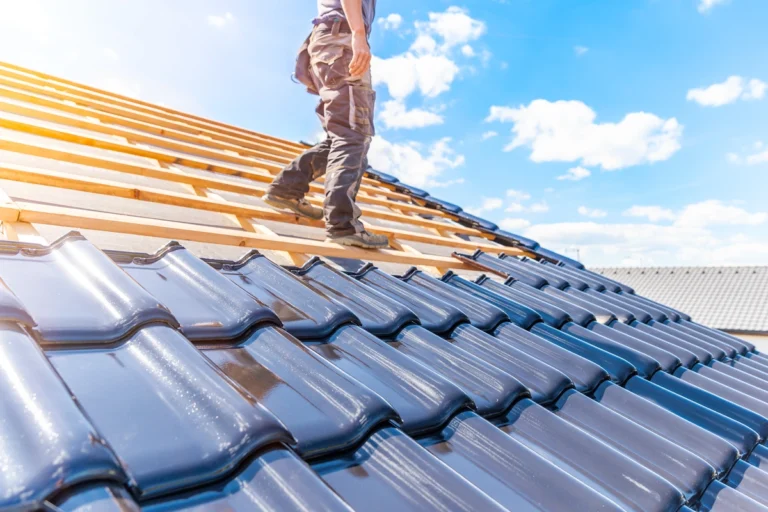
Install the Starter Shingles
One of the most important steps in the shingle installation part of a roof is the placement of the first starter shingle. Before you start, ensure you have a straight edge and measure the area where you want to install the asphalt shingle roof. Then, secure each one with four nails. This ensures they will fit properly and stay in place during rough weather.
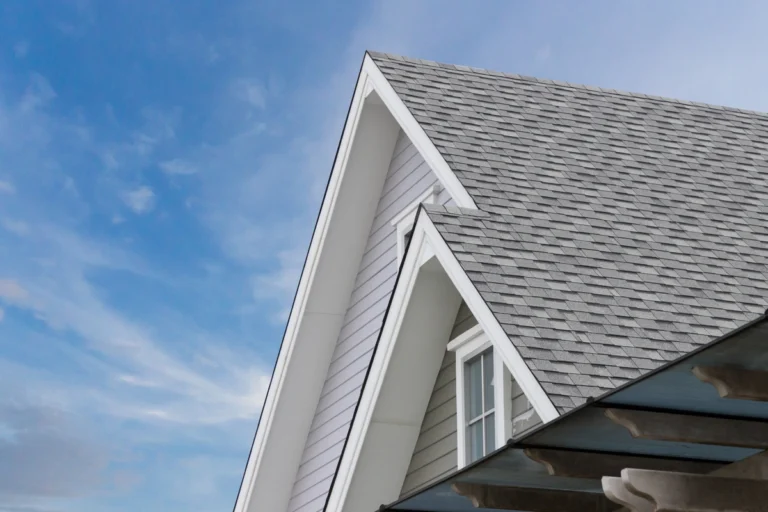
After you have finished nailing in the last field shingle, you can see the finish line of the ridge and hip cap. When you place the field shingles on the roof, you must ensure they face the correct direction.
This method uses individual ridge cap shingles to split the water down the slope. Various types of ridge cap shingles are available on the market, but this is the same procedure that everyone should follow.
FAQs
How do you shingle a roof step by step?
Here are the simple steps in shingling a roof:
- Before you start working on this project, ensure you have all the necessary materials: nails, roofing felt paper and shingle starter strips.
- Then, start by placing the first row of strips on the bottom edge of the roof. Make sure they are straight and level with each other.
- To create an overlapping pattern on the starter strips, install them over the top of the existing ones. Continue to do so until you reach the top of your roof or the planes meet at varying angles.
- After that, lay down full-size shingles on your roof’s top and bottom rows. Make sure that the overlapping pieces are about an inch thick. To ensure they aren’t damaged, secure them with four to six nails per shingle. These nails should be used for optimal performance against various weather elements such as rain and wind
- Then, apply any necessary finishing touches, such as flashing or ridge caps. These should be done according to the local building code of your area.
How do you lay shingles for beginners?
Before you start the roofing project, it’s important to measure the area where you want to put the shingles. Then, you can install an underlayment made of felt paper. After that, you can start laying the course of the shingles using nails and staples.
Lay each row of shingles until it reaches its peak, then overlap the succeeding rows’ drip edge by half its width to create a waterproof coating. Make sure that all nail heads are flush and that the edges are protected from moisture.
What is the easiest DIY roofing?
Metal roofing is one of the easiest ways to install a DIY roof. This type of roof requires little maintenance and provides long-lasting protection against harsh weather. It can be painted or coated in various colors and textures for a more attractive look. Unlike other roofing materials, metal roofs can withstand wind and hailstorms. They can also be installed with proper techniques in just a few days.
Conclusion
Before you start to install asphalt shingles, it’s important that you take the necessary steps to ensure that it’s done correctly. This article provides the information required to make an informed decision and get the best possible results.
In addition to the right materials, it can help you avoid costly mistakes and ensure your new roof will look great for many years. Contact us today to learn more about roofing solutions.