Metal Roof Installation: Step By Step Guide
October 30, 2024
Thinking about installing a metal roof on your home but unsure where to start? You’re in the right place. When it comes to enhancing the durability and aesthetic appeal of your home, a metal roof can be a game-changer. This comprehensive guide will walk you through every step of the metal roof installation process, providing valuable insights and practical tips along the way, including:
- Why choose a metal roof?
- Preparing for metal roof installation
- 6 Step guide to installing a metal roof
- Common mistakes to avoid
🤔 Why Choose a Metal Roof?
Before we get into the how-tos, let’s discuss why metal roofs are such a popular choice among homeowners. Metal roofs are known for their longevity, durability, and energy efficiency. They can withstand harsh weather conditions and are a sustainable choice, often made from recycled materials. Plus, they give your home a sleek, modern look.
Benefits of Metal Roofs
Metal roofs offer durability, longevity, and energy efficiency, making them a smart investment for homeowners. Their ability to withstand harsh weather conditions and reduce cooling costs adds significant value to any property.
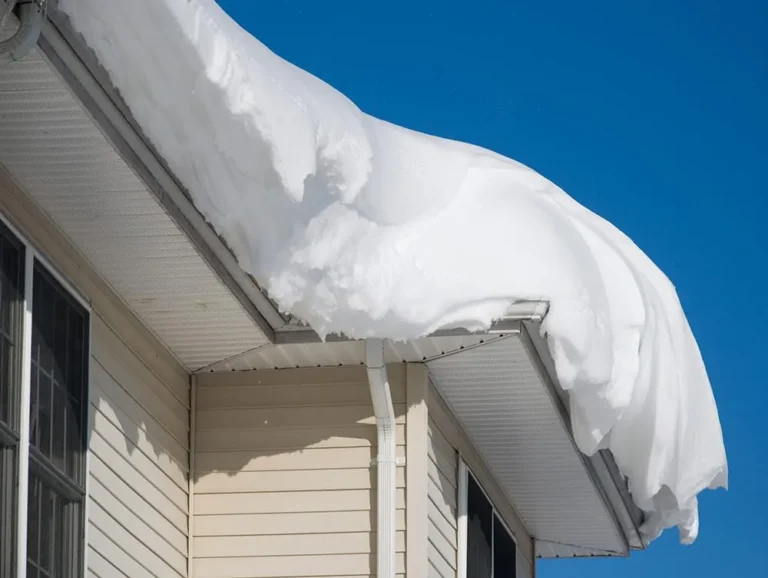
- Longevity and Durability: One of the most significant advantages of metal roofs is their longevity. A well-installed metal roof can last up to 50 years or more, far outlasting traditional asphalt shingles. They are also incredibly durable, capable of withstanding extreme weather conditions, including heavy snow, hail, and high winds.
- Energy Efficiency: Metal roofs reflect solar radiant heat, which can reduce cooling costs by up to 25%. This makes them an energy-efficient option, especially in hot climates. Some metal roofs also have a reflective coating, further enhancing their energy-saving properties.
- Environmentally Friendly: Metal roofs are often made from recycled materials and are fully recyclable at the end of their lifespan. This makes them a more sustainable choice compared to traditional roofing materials, which often end up in landfills.

👉 Preparing for Metal Roof Installation
Preparing for metal roof installation is crucial to ensure a successful and durable outcome. Proper preparation helps identify potential issues, ensures all materials are ready, and guarantees that the installation process goes smoothly, ultimately extending the lifespan of the roof.
Assessing Your Current Roof
The first step in any roofing project is to assess the condition of your existing roof. This involves checking for any damage, leaks, or structural issues that need to be addressed before installing a new metal roof. If you’re not comfortable doing this yourself, consider hiring a professional for a thorough inspection.
Gathering Materials and Tools
Once you’ve assessed your roof, it’s time to gather the necessary materials and tools. You’ll need metal roofing panels, metal screws, a drill, a metal shear or snips, and safety gear, including gloves and goggles. Having everything prepared beforehand will make the installation process much smoother.
Safety Measures
Safety should always be your top priority. Make sure you have a stable ladder, wear non-slip shoes, and never work on the roof when it’s wet or windy. If possible, have someone assist you during the installation to ensure everything goes smoothly and safely.
🛠️ 6 Step Guide to Installing a Metal Roof
Installing a metal roof is an important step in enhancing the durability and longevity of your home. Not only does it offer superior protection against the elements, but it also improves energy efficiency and can significantly increase property value. Here’s a detailed guide to help you through the process.
1. Removing the Old Roofing
Before you can install a new metal roof, you need to remove the existing roofing materials. Begin by carefully taking off the old shingles; use a pry bar to lift them away and expose the nails securing them. Once the shingles are removed, proceed to pull out all visible nails using a nail puller or a hammer. Don’t forget to check for any underlayment or felt paper beneath the shingles, as this should be removed as well. Proper disposal of the old materials is crucial—consider recycling shingles if possible, or ensure they are disposed of in accordance with local regulations.
2. Installing Underlayment
Underlayment is a vital layer that serves as an additional barrier against moisture, helping to protect your home from leaks. Start at the lowest edge of the roof and roll out the underlayment horizontally across the entire roof surface. Use roofing nails to secure the underlayment, ensuring that each strip overlaps the one below it by at least a few inches to prevent water infiltration. Make sure the surface is smooth and free of bubbles or wrinkles, as these imperfections can lead to complications down the line, such as water pooling or mold growth.
3. Installing Metal Panels
Once the underlayment is securely in place, you can begin installing the metal panels. Start at the bottom edge of the roof and work your way up to ensure proper water runoff. When placing the first metal panel, make sure it overhangs the edge of the roof slightly; this helps direct rainwater away from the building. Use metal screws to secure the panel, spacing them every few feet to provide adequate support. As you lay each subsequent panel, overlap it over the edge of the previous one to create a watertight seal. Ensure that the panels align properly for a clean and professional look.
4. Securing the Ridge Cap
The ridge cap is the finishing touch that seals the peak of your roof. Once all the metal panels are installed, measure and cut the ridge cap to fit snugly over the top edges of the panels. Secure the ridge cap with screws, ensuring they are evenly spaced to hold it firmly in place. This not only provides a protective seal against wind and rain but also enhances the aesthetic appeal of your roof, giving it a polished and complete appearance.
5. Checking for Leaks
After everything is installed, it’s crucial to conduct a thorough inspection for potential leaks. Carefully examine all seams, overlaps, and edges for any gaps that could allow water to penetrate. Use a high-quality silicone sealant to fill in these gaps, ensuring that your new roof is watertight. It can also be beneficial to conduct a water test by gently spraying water on different sections of the roof to verify that no leaks are present. This final step will help you enjoy peace of mind knowing your metal roof is secure and fully functional.
6. Final Inspection and Cleanup
After ensuring that everything is securely installed and watertight, conduct a thorough inspection of the roof. Look for any loose screws, gaps, or areas that might need additional sealing. Once you’re satisfied with the installation, clean up the work area by removing any debris, tools, and leftover materials to leave the space tidy.
🚫 Common Mistakes to Avoid
Avoiding common mistakes when installing a metal roof is crucial to ensure proper functionality and longevity. These errors can lead to costly repairs and decreased performance, ultimately compromising the roof’s effectiveness in protecting your home.
- Incorrect Measurements: One of the most common mistakes is incorrect measurements. Always double-check your measurements before cutting the metal panels. A small mistake can lead to significant issues down the line.
- Over-Tightening Screws: While it’s essential to secure the panels tightly, over-tightening screws can cause the metal to warp or create gaps. Use a drill with an adjustable torque setting to prevent this.
- Ignoring Safety Precautions: Never overlook safety measures. Always wear appropriate safety gear and ensure your ladder is stable. If you’re not comfortable doing the installation yourself, it’s always best to hire a professional.
🙌 Investing in Your Home: The Benefits of Metal Roofing with Roof X
Installing a metal roof is a substantial investment in your home, offering numerous benefits, including durability, energy efficiency, and aesthetic appeal. However, the installation process requires careful planning and execution to ensure a successful outcome.At Roof X, we pride ourselves on delivering top-quality roofing solutions tailored to your needs. Our team of experienced professionals is here to guide you through the process, ensuring your new metal roof is installed correctly and efficiently. Don’t leave your roofing needs to chance—trust the experts at Roof X. Ready to get started? Contact us today for a free consultation and discover why Roof X is the team you can trust for all your roofing needs.